
Hi Friends!
Happy February! With Valentine’s Day right around the corner I wanted to share a few simple ways that I like to decorate this time of year. I’ve never been a big Valentine’s Day decorator but with now having 2 little boys, I do enjoy putting out a few things here and there since they do get a kick out of it. So here’s how I keep it simple yet fun enough to make it special!

A Festive Quilt!
A few years back I participated in a sew along hosted by Sharron Holland and Maureen Cracknell using the Heartsy Heart block pattern from Allison Harris. I loved how simple the pattern was and I had the perfect Art Gallery fabric bundle just laying around waiting to be sewn up. By no means do you NEED to go sew a special Valentine quilt right now… however I love how a festive quilt instantly brightens up a room and is a practical item to have on hand for snuggles or fort building. IF you are looking for ANOTHER project to add to that WIP list then this is a great one! I loved how easy the pattern was to sew up and it’s a perfect quilt for a confident beginner.
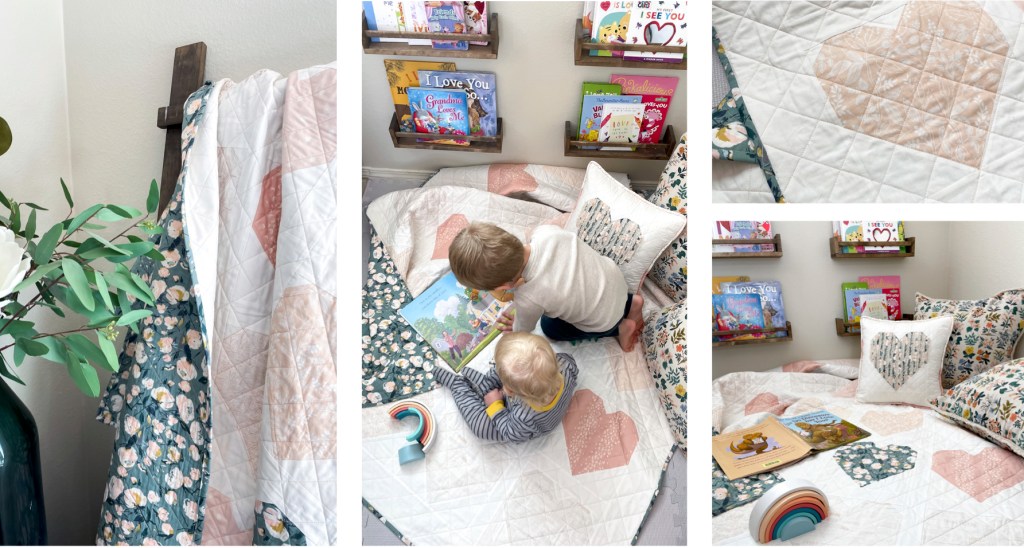
Fabric: Ballerina Fusion, Sparkler Fusion By: Art Gallery Fabrics

A Cute Pillow!
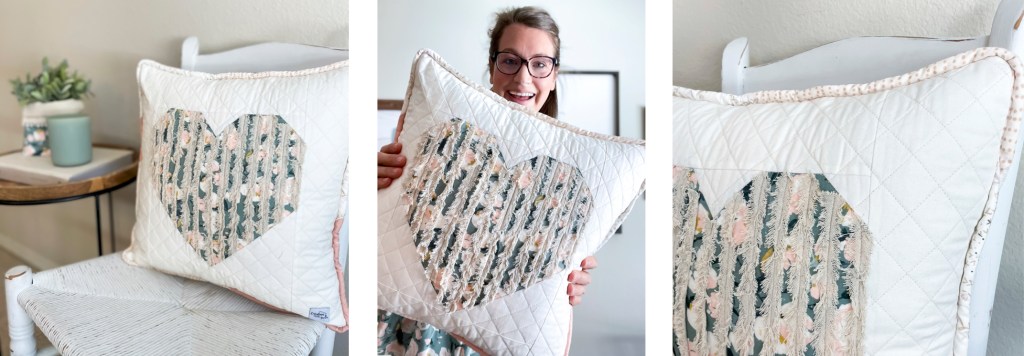
I had a little Sparkler Fusion fabric left over from my quilt so I made one extra block in hopes of making a cute little pillow to go with it at some point…. well 2 years later I finally got to it and it turned out better then I had hoped! I had an idea in my head and I am the type of person to just start going even if I am unsure about some things along the way… I tend to figure it out as I go. Anyways somehow with very little seam ripping (thank goodness) it turned out.
So heres what I did…
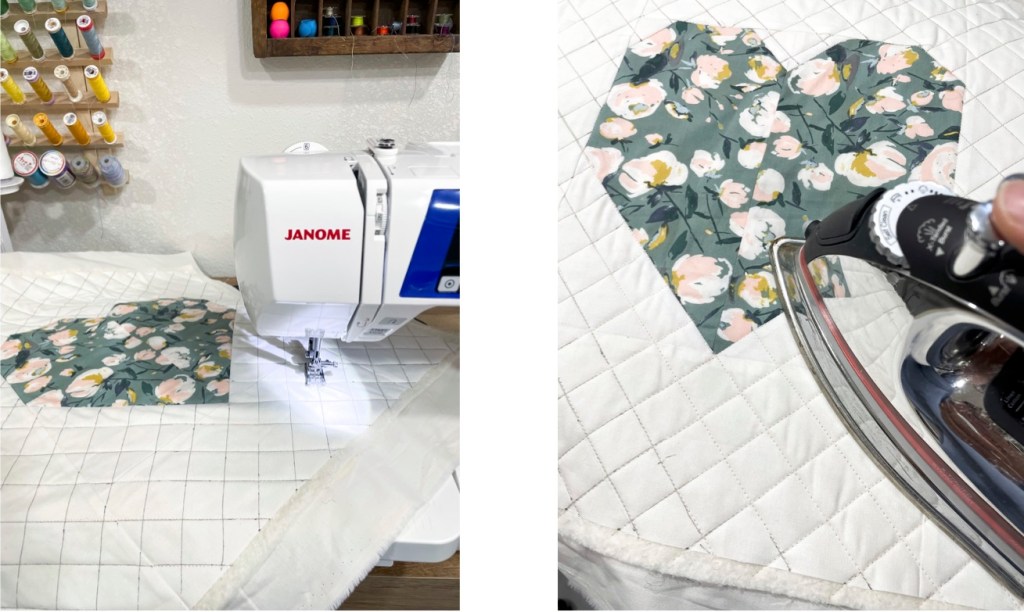
Made the initial heart block following the same pattern as the quilt. I then added a 4.5 inch border around the whole block, which allowed it to fit my pillow nice and snug. My pillow size was 18 x18 in. You can easily adjust your border size depending on your pillow size either making it larger or smaller just be sure to take into account the seam allowance.

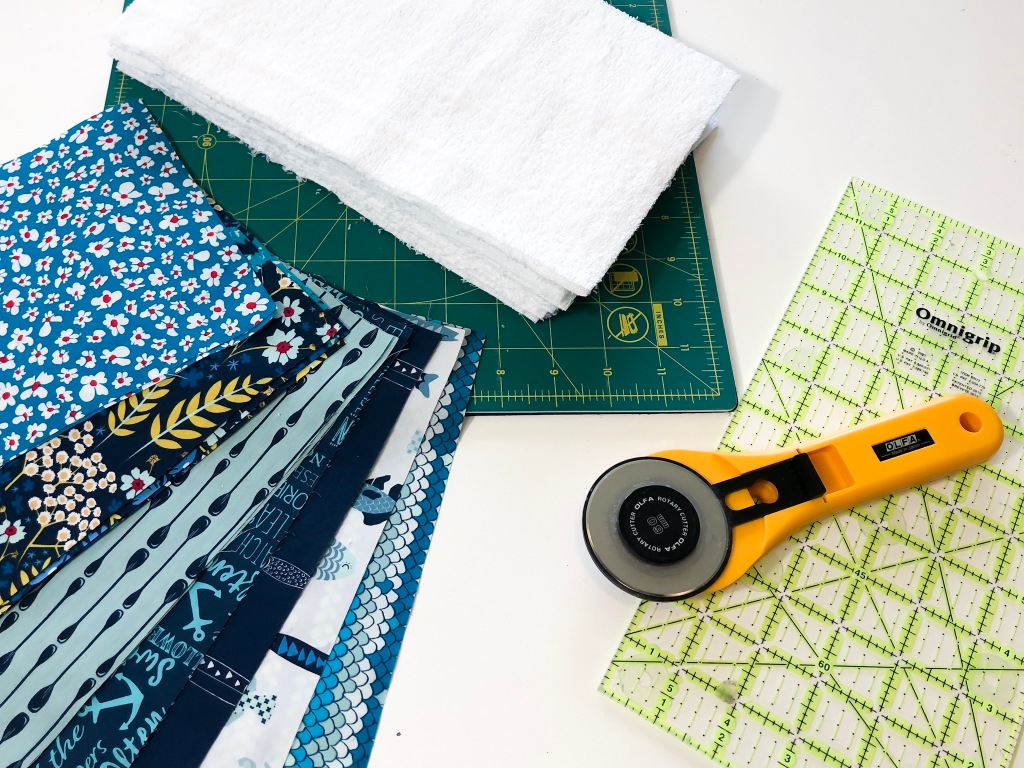
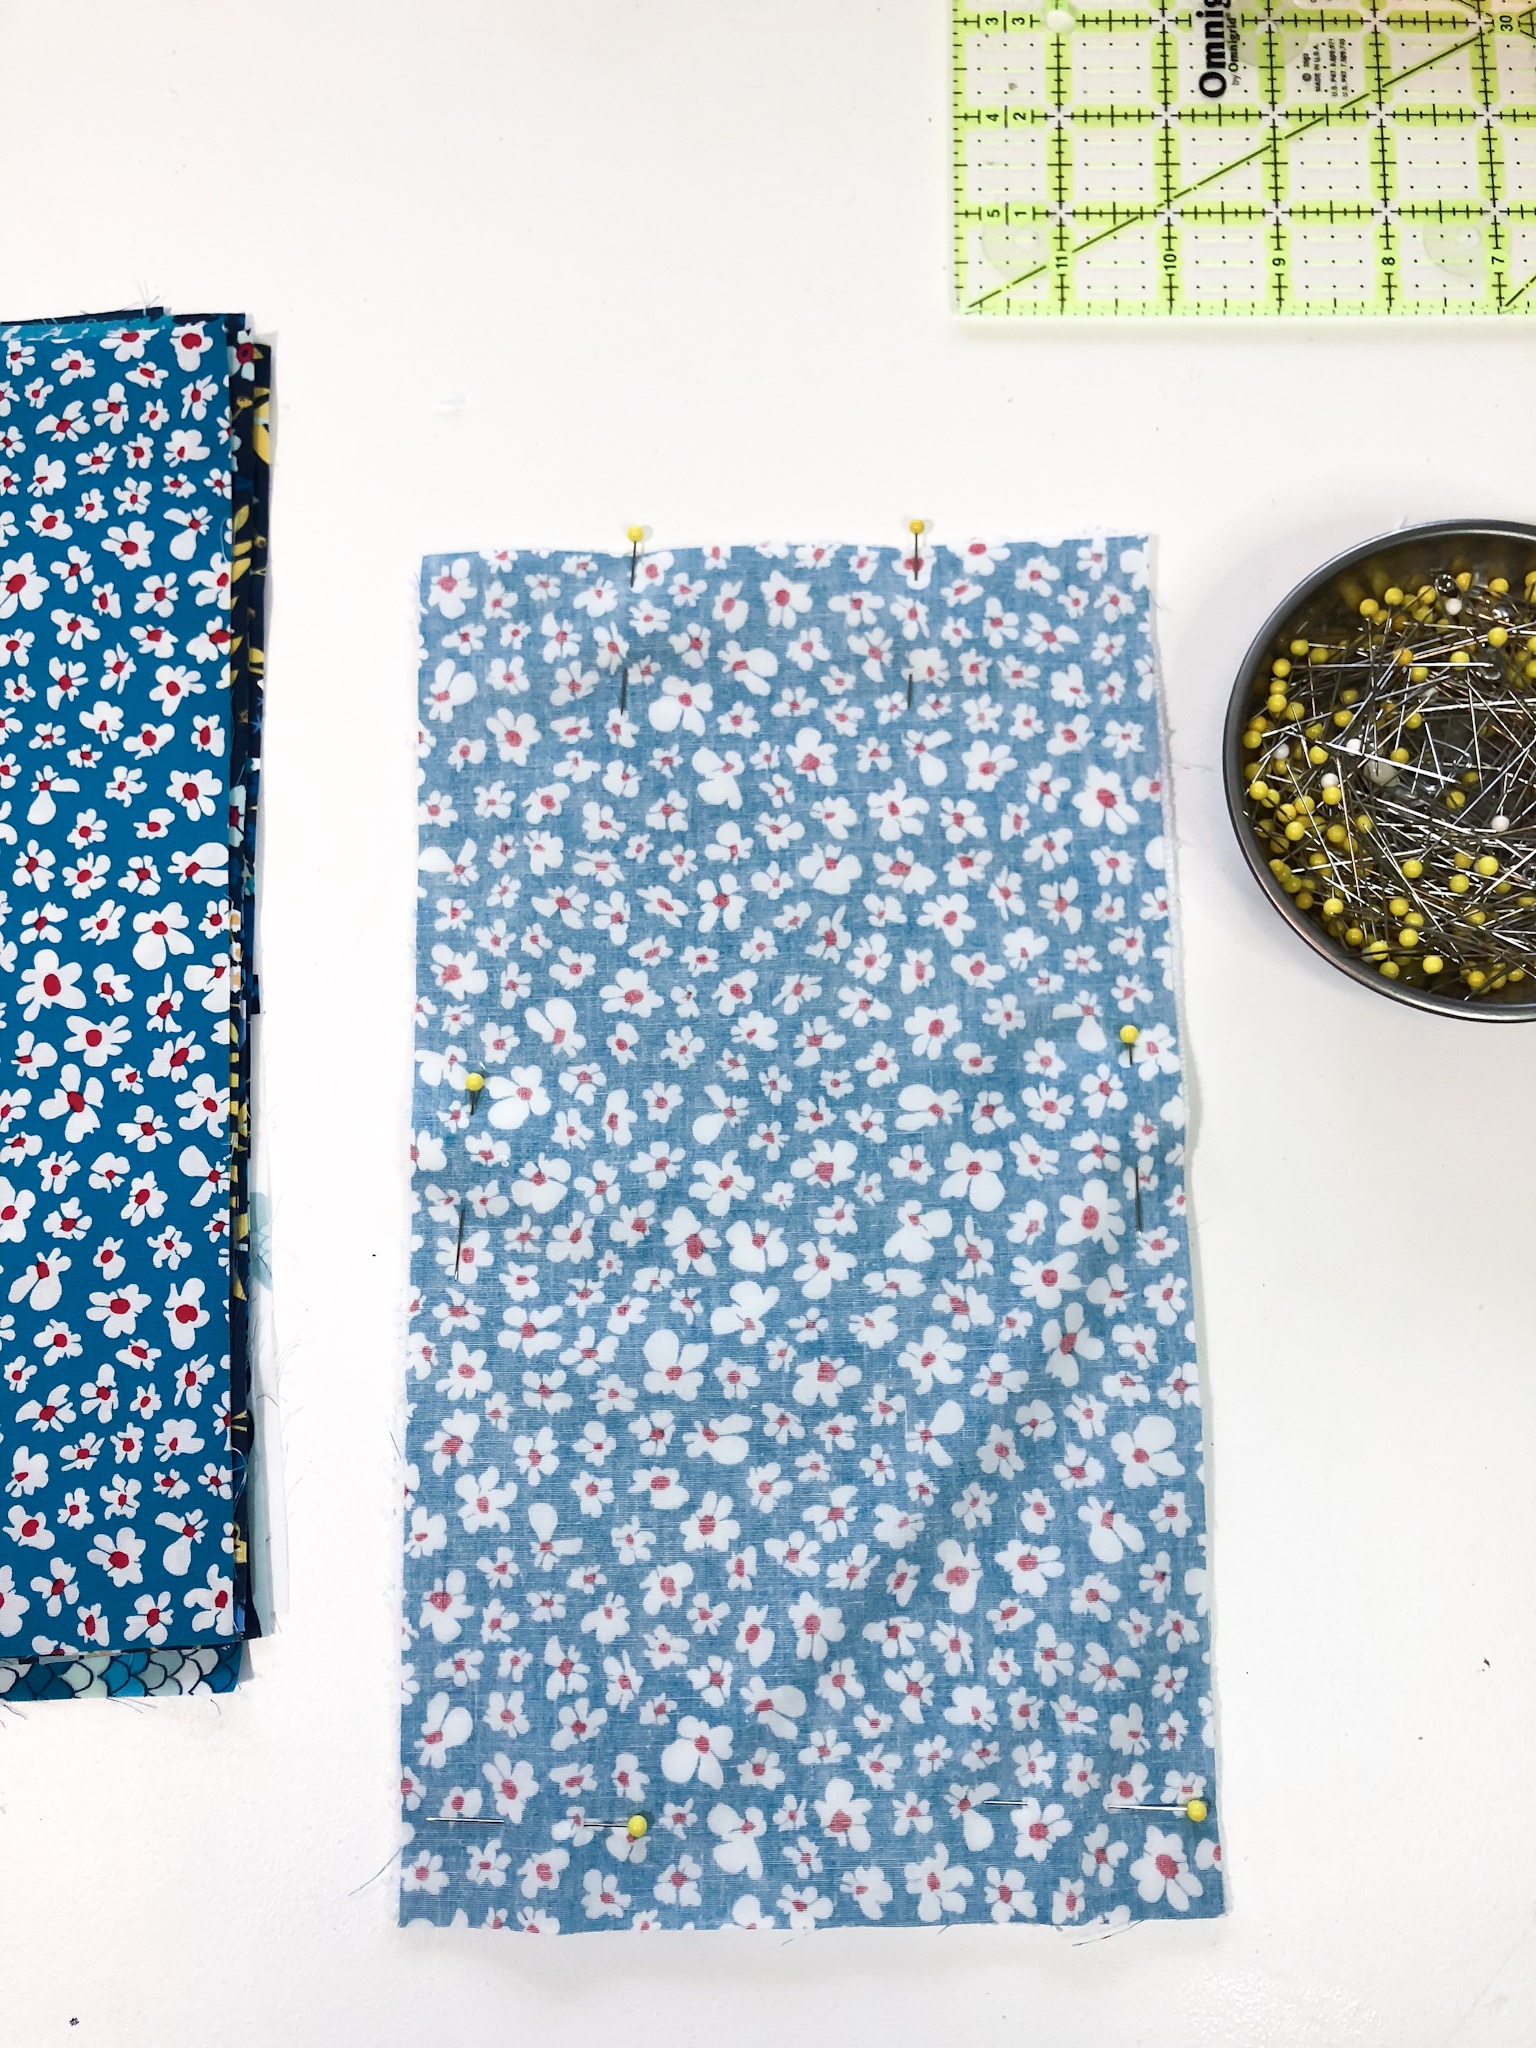
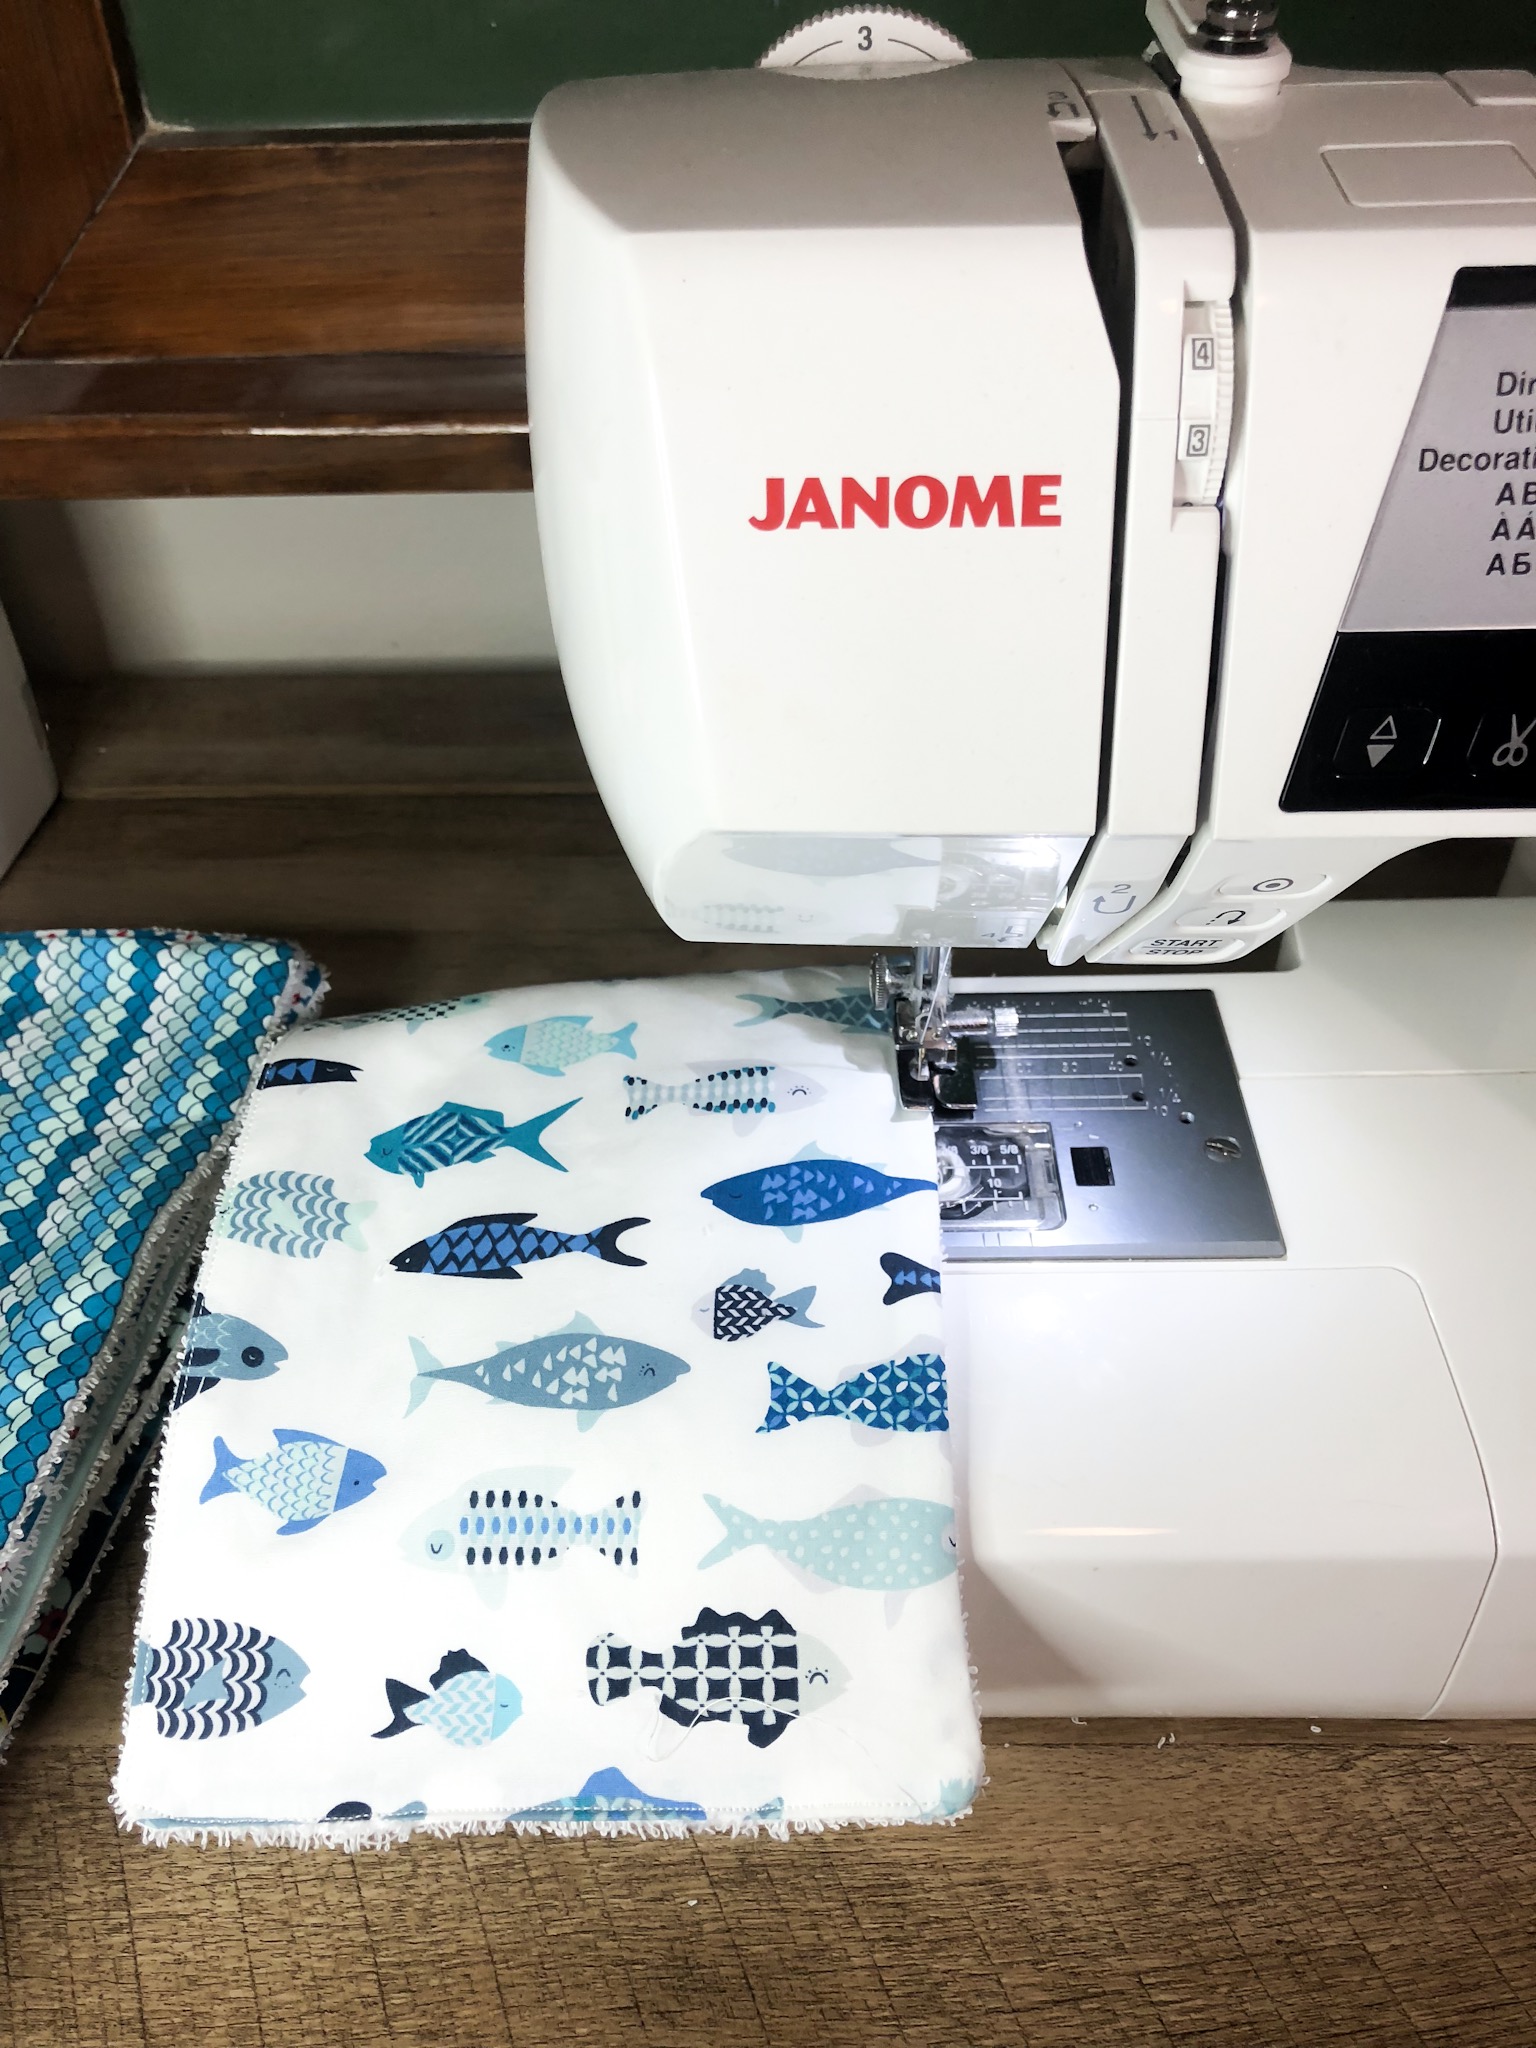
Next, I cut a piece of batting slightly larger then my block along with cutting a larger white piece of fabric. I sandwiched them together (batting between the block and the white fabric) and spray basted them together using this to hold it all together.
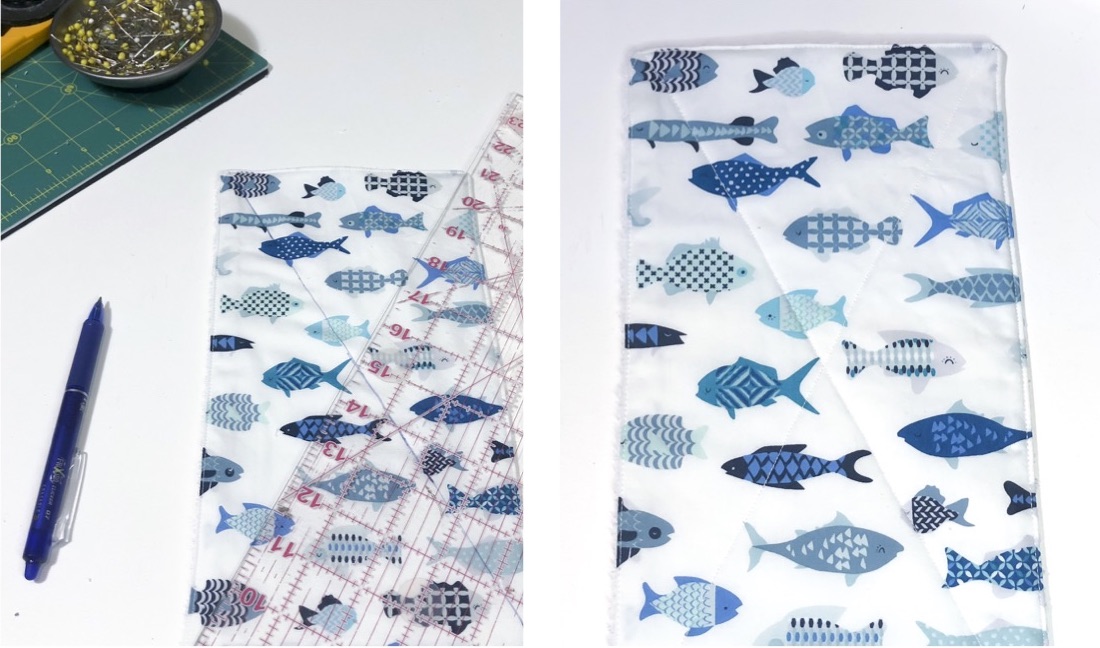
I then marked 1 inch lines with a Frixion Pen in a cross hatch design across the white background.
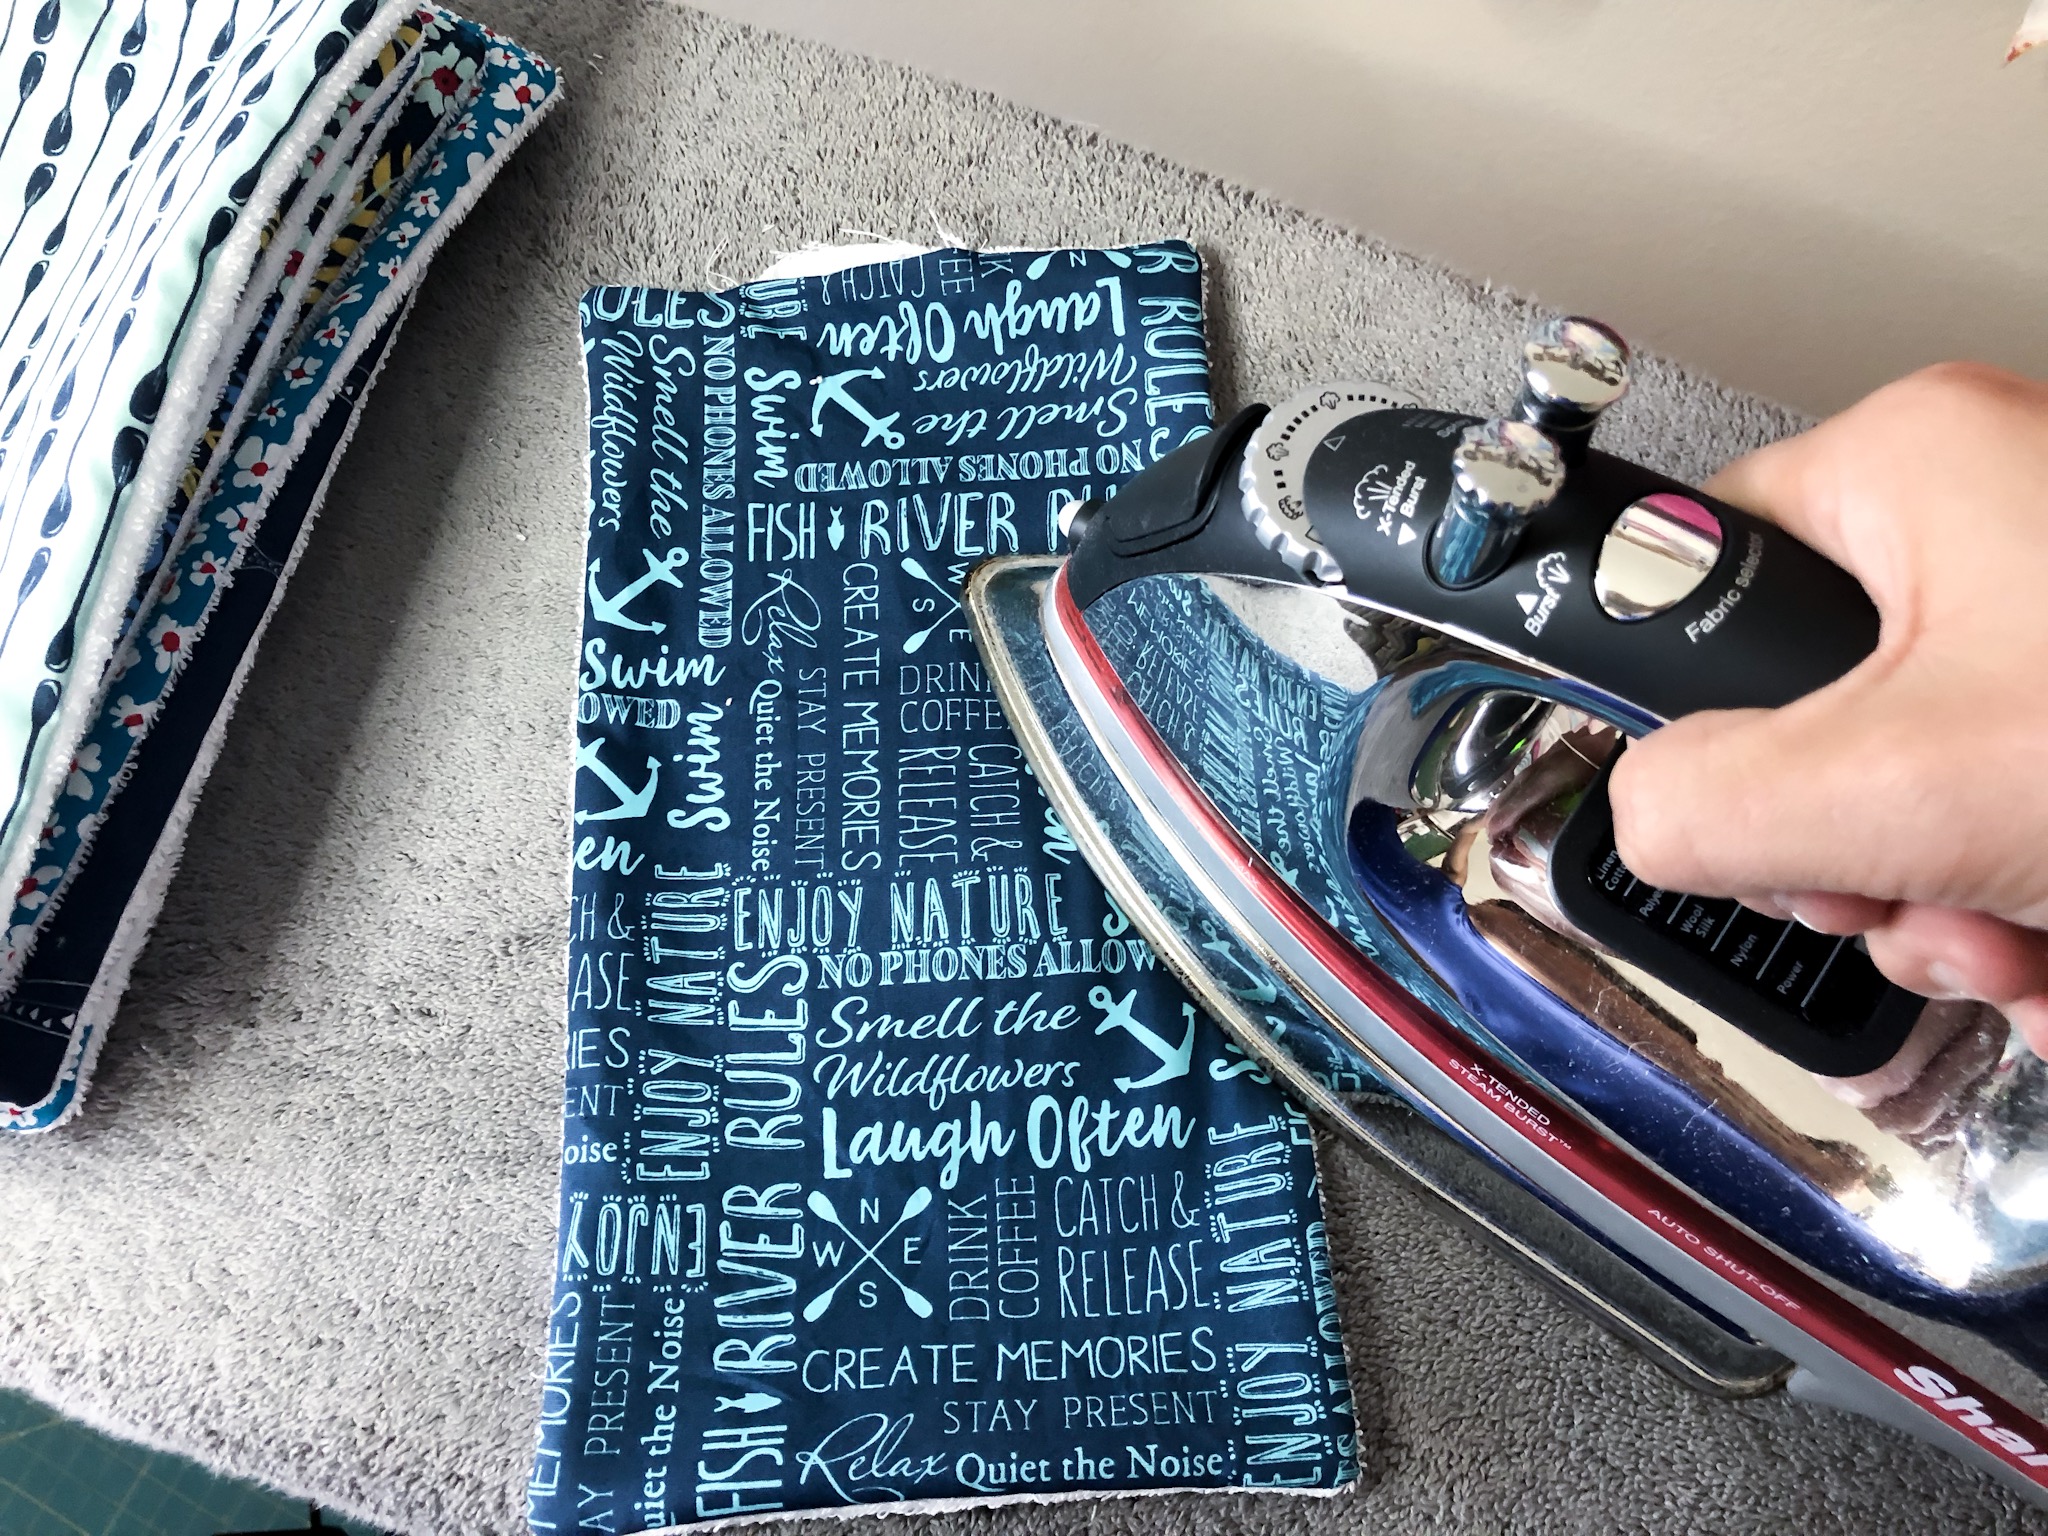
I used a pale pink thread to sew around the outside of the heart and then sewed over the Frixion Pen marks. Once finished I ironed it and the pen lines disappeared!
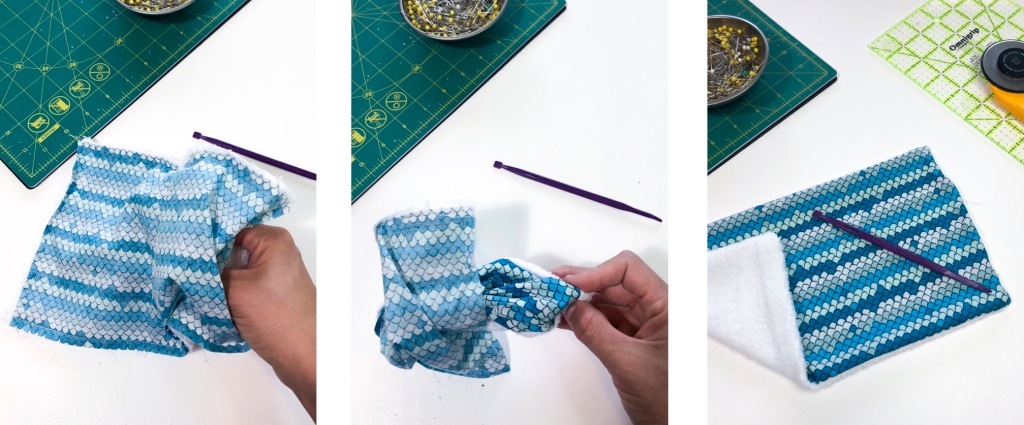
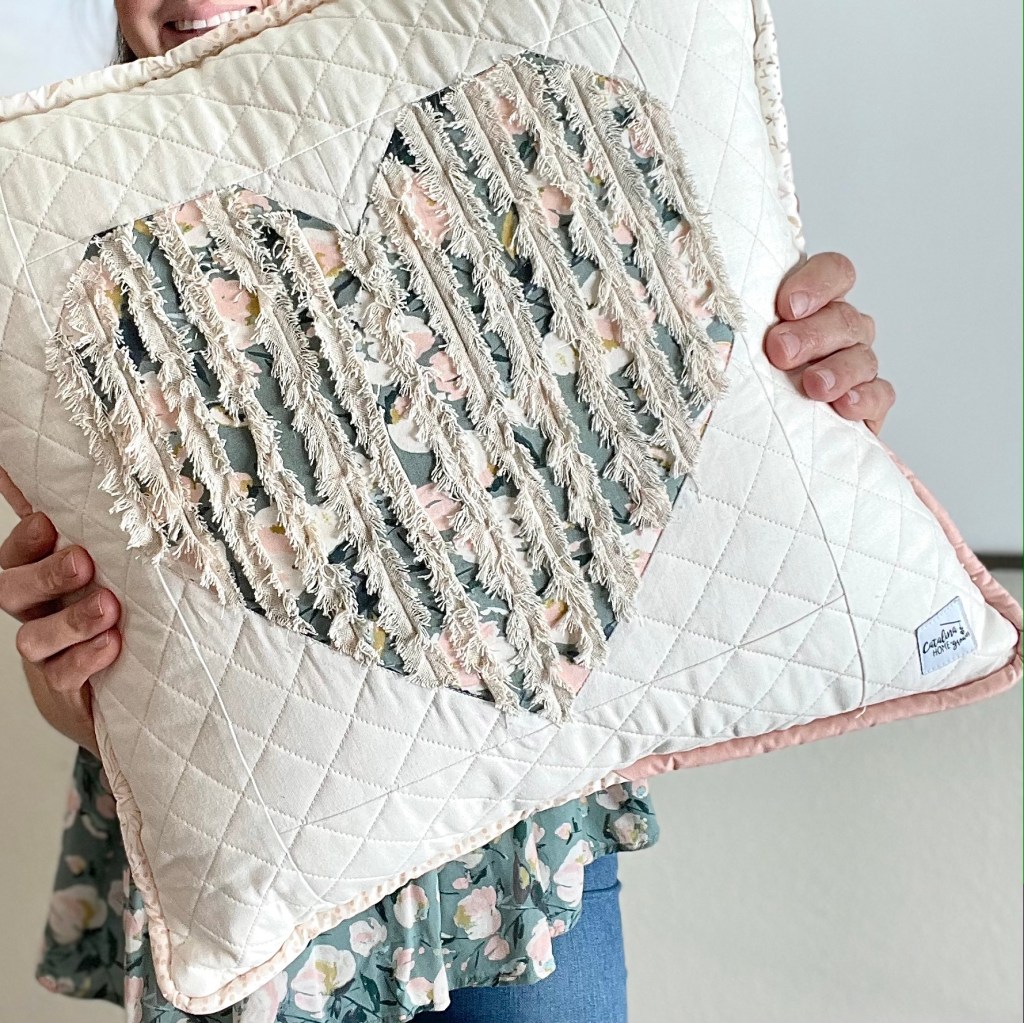
Once my quilting was completed I cut chenille-it strips the vertical width of my heart. I cut 12 strips and evenly spaces them over the heart part of the block. I then sewed down the middle and used a toothbrush to fray it. You can also throw it in the wash and it will self fray (However I was impatient)

I then decided to sew up a scrappy pipping for the edge of the pillow. Here is a great tutorial by Hey There Home on how to create a pillow with pipping and good tutorial from The Sewing Loft on how to make a scrap binding.
Finally, I cut a backing piece the same size as my front, installed a zipper and boom I had a pillow. Here is a great tutorial from Suzy Quilts on making a quilted pillow with a zipper you can check out.

Fun Garland
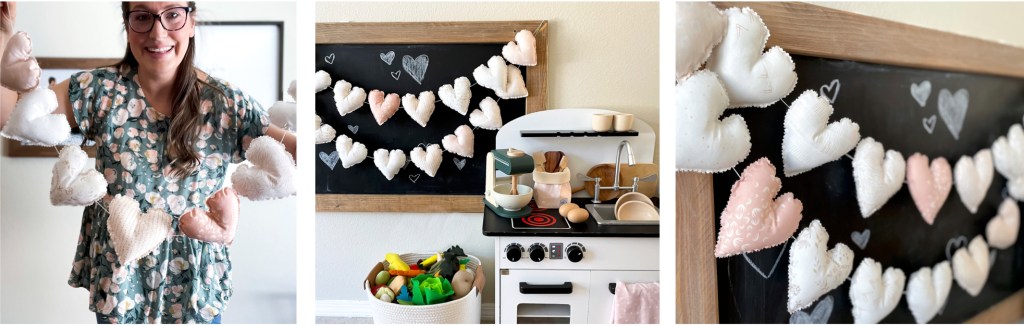
Using scraps from my Ballerina Fusion fabric that I had left over from my quilt I decided to sew up some fun heart garland. It was super easy to make and a great scrap buster project.
Heres how I did it in 6 easy pictures to follow…


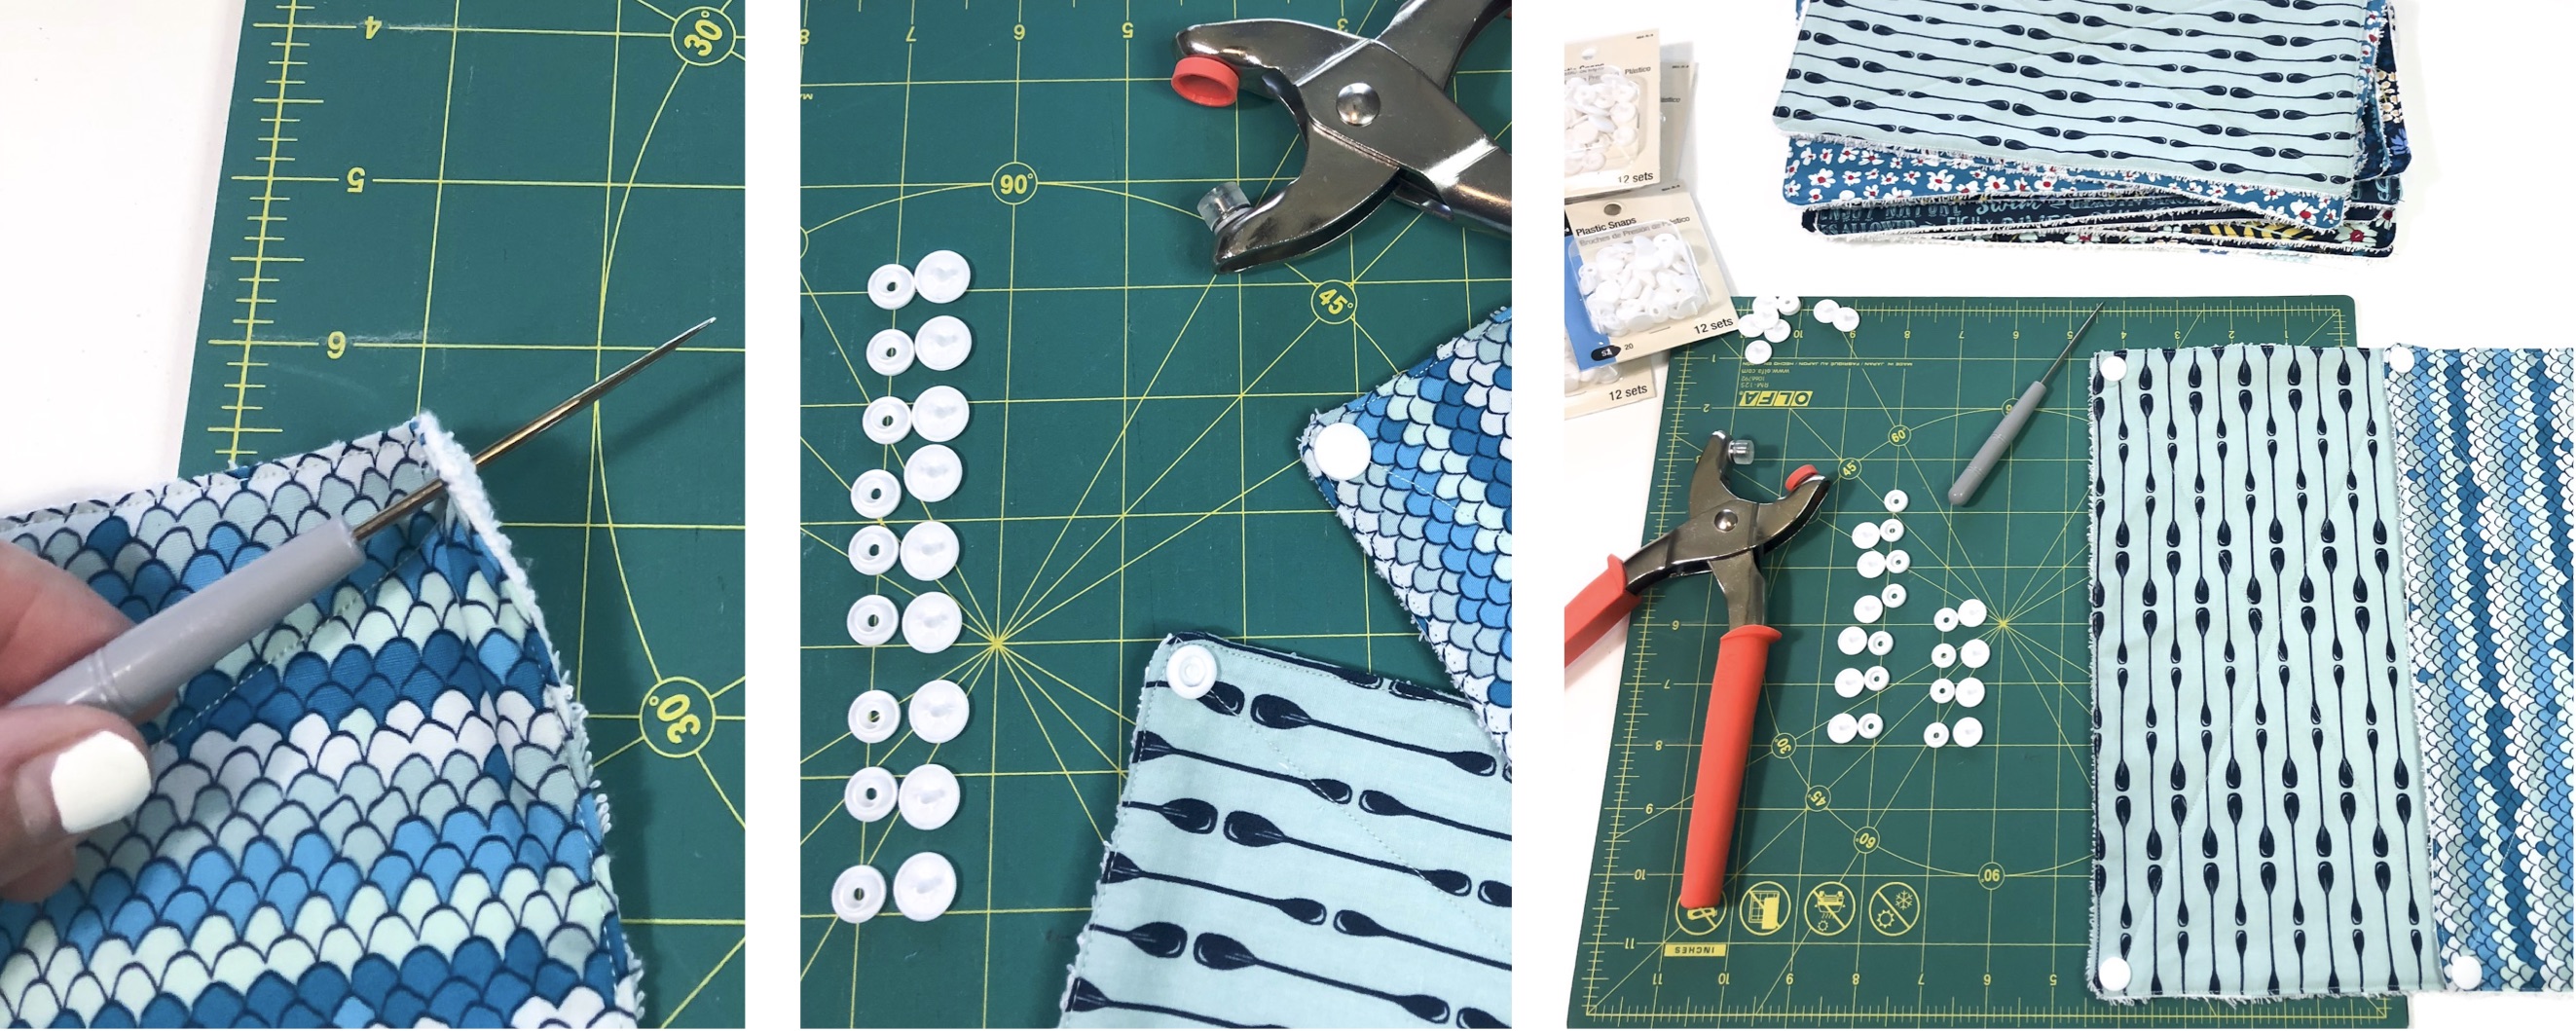
Coordinating Slouchy Fabric Baskets
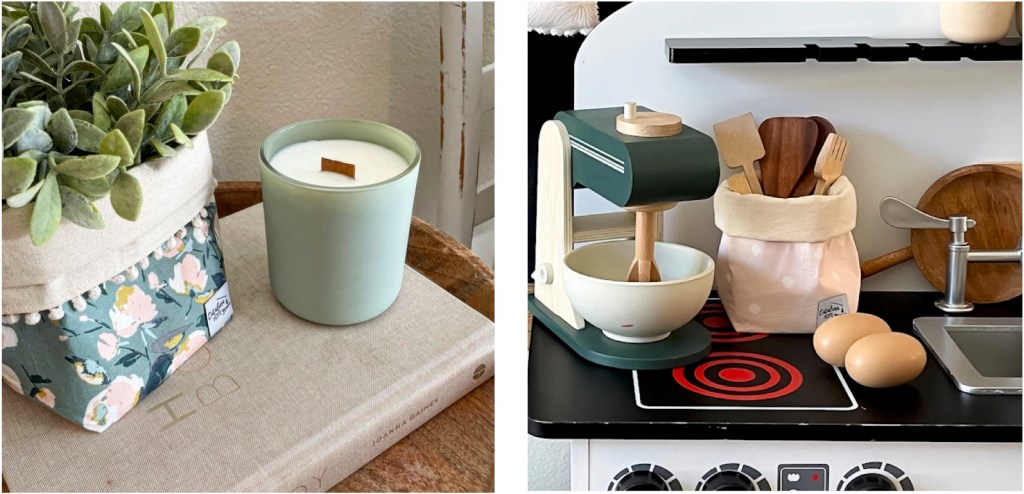
I love switching out our fabric slouchy baskets seasonally throughout my house. It’s such an easy switch that has a big impact. The large size works great for faux plants and the small size is perfect for things like pens and pencils or in this case I added one to my kids play kitchen to hold their utensils. They don’t take up a lot of extra storage so I don’t mind having a handful to switch between through out the year for things.
I don’t always have the time to make thoughtful handmade items for my own home (my valentines decor has been in the making for a few years now) but I do love the feel of a home with those special handmade touches and they are always the items I am excited to pull out year after year! My hope is that you will be inspired to create something special for your own home that will be made with love.
Happy Sewing!
-Amanda