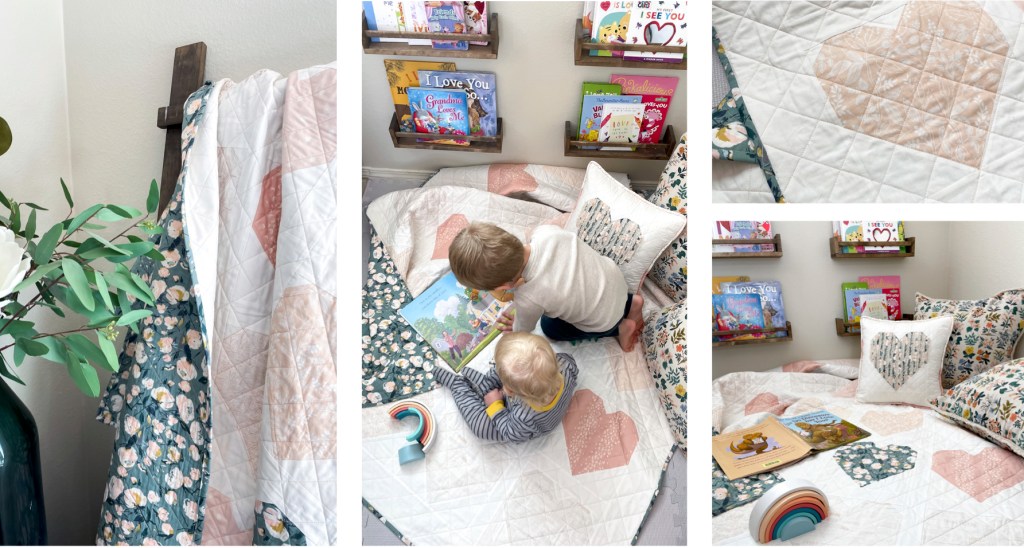
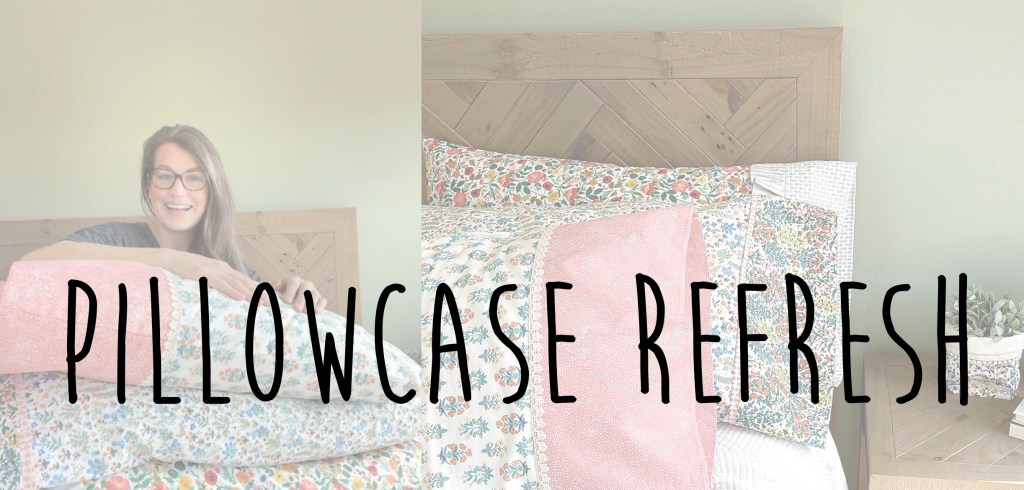
With the weather warming up FINALLY… it felt like it was time for a little spring refresh around here!
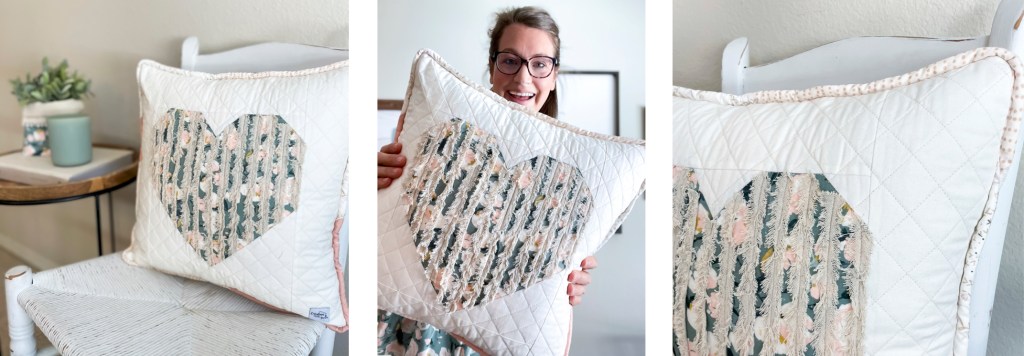
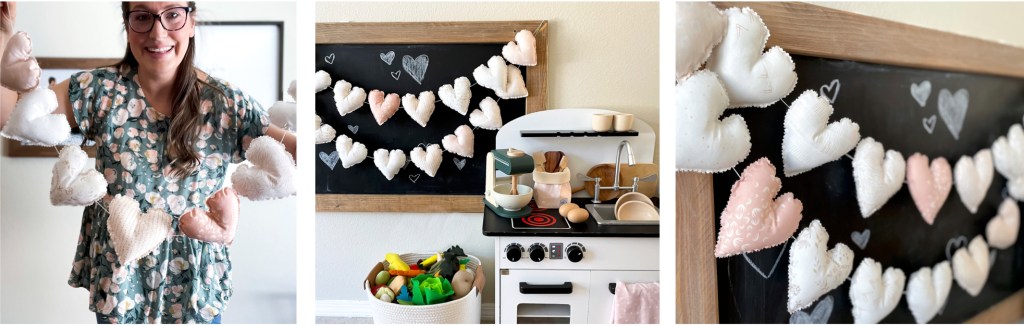
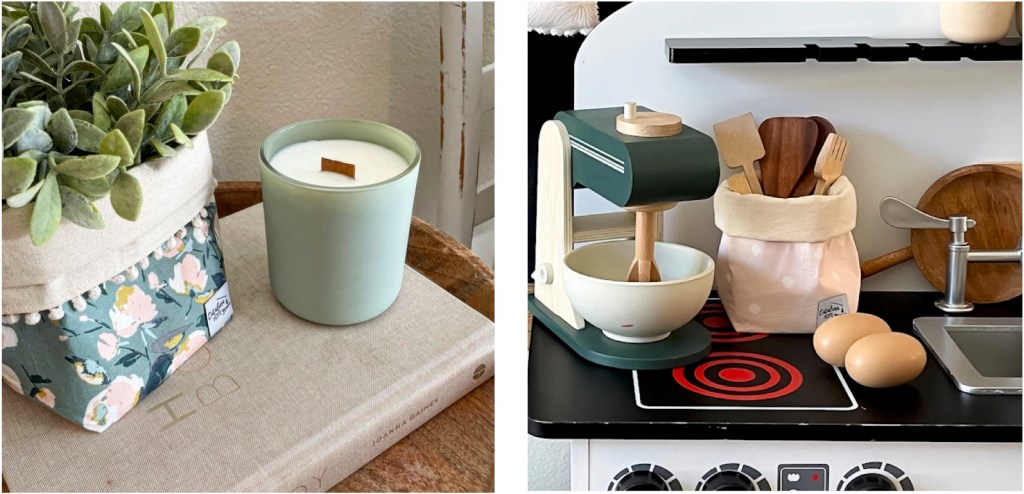
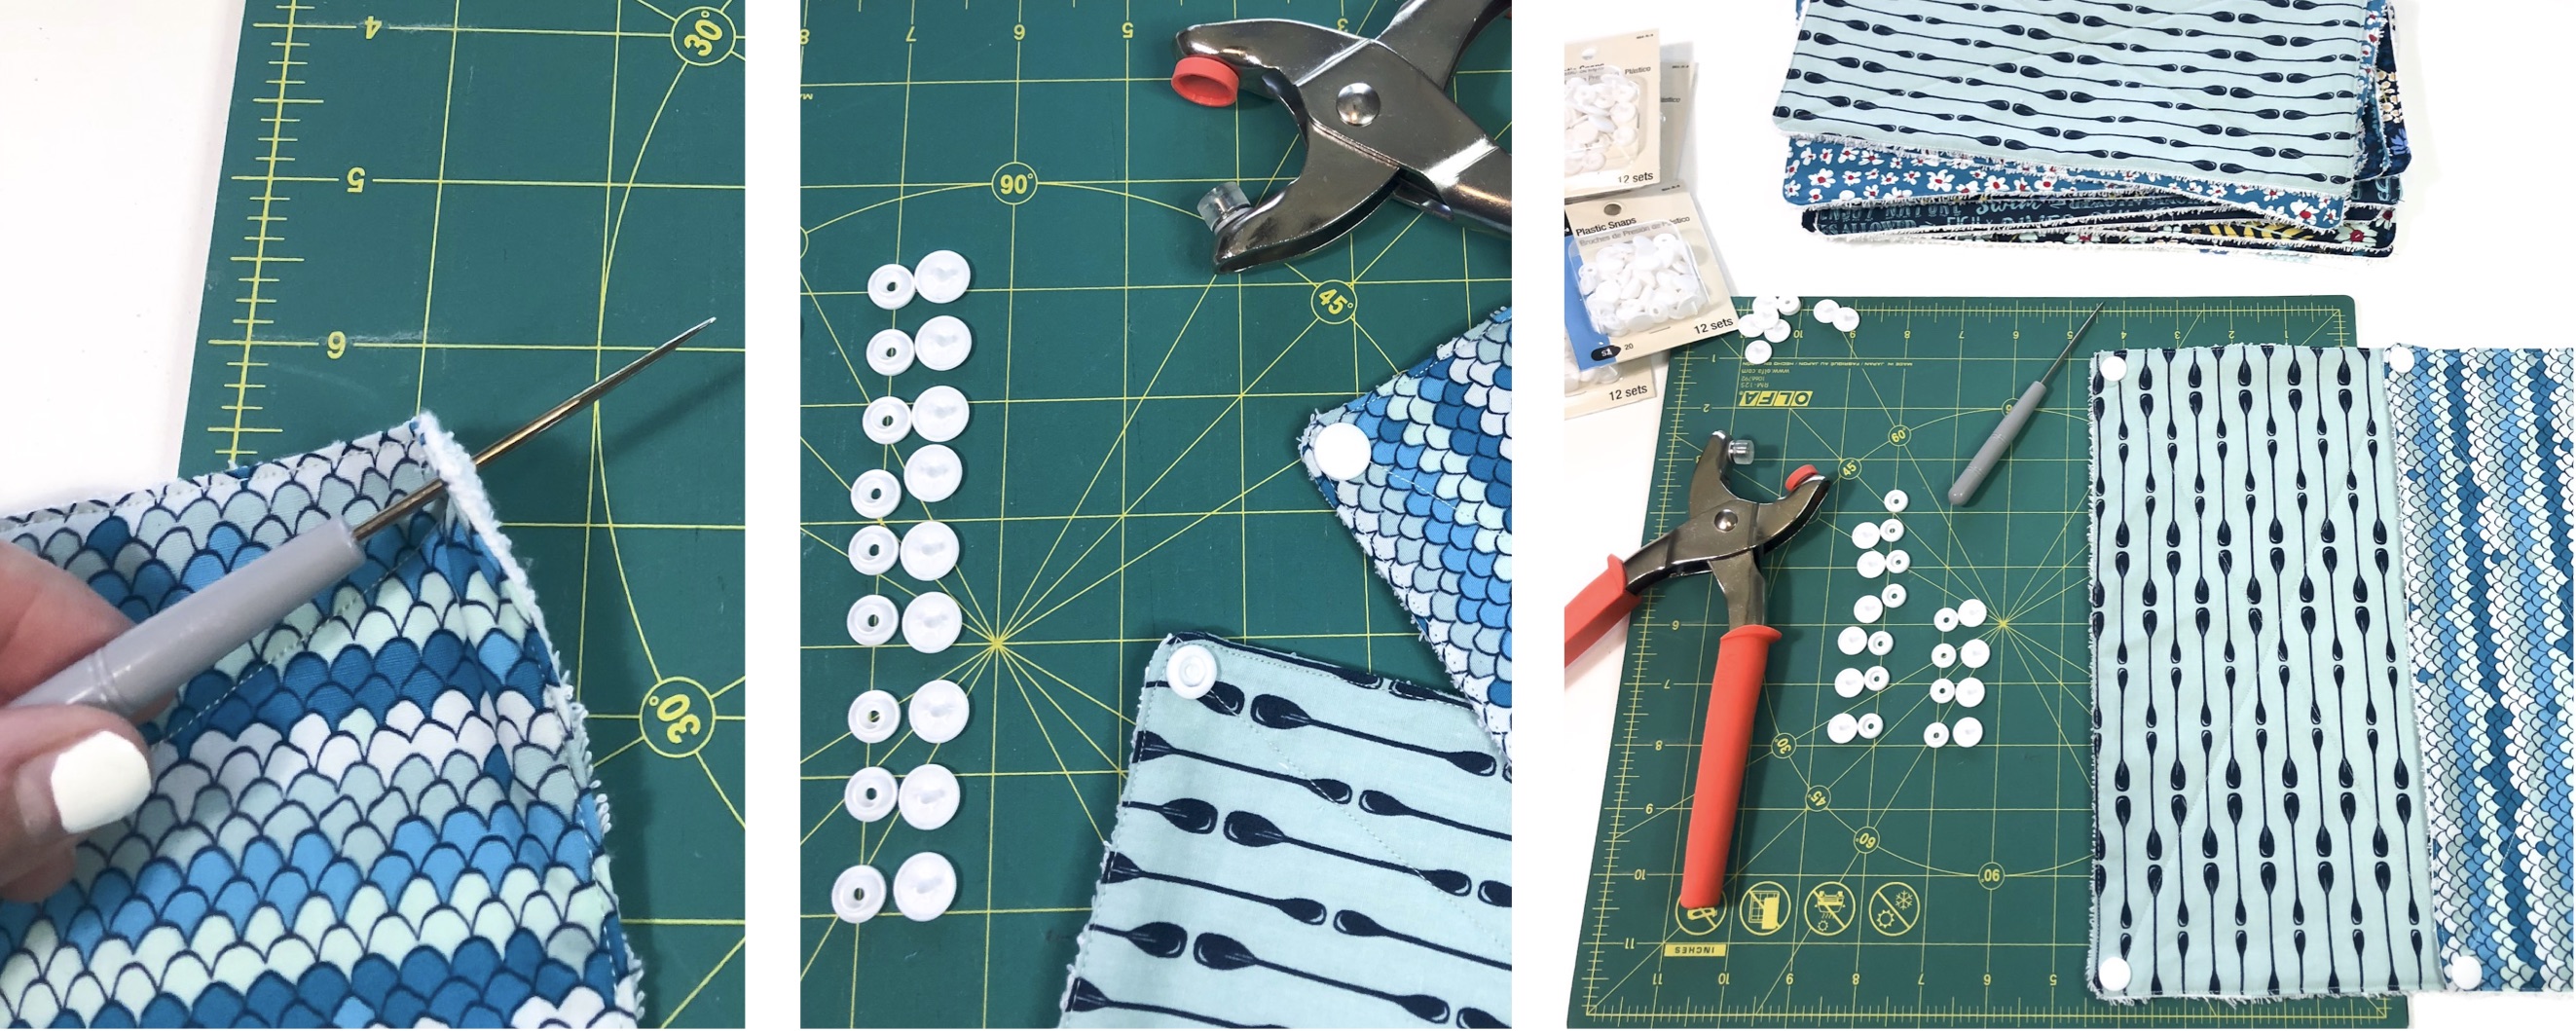
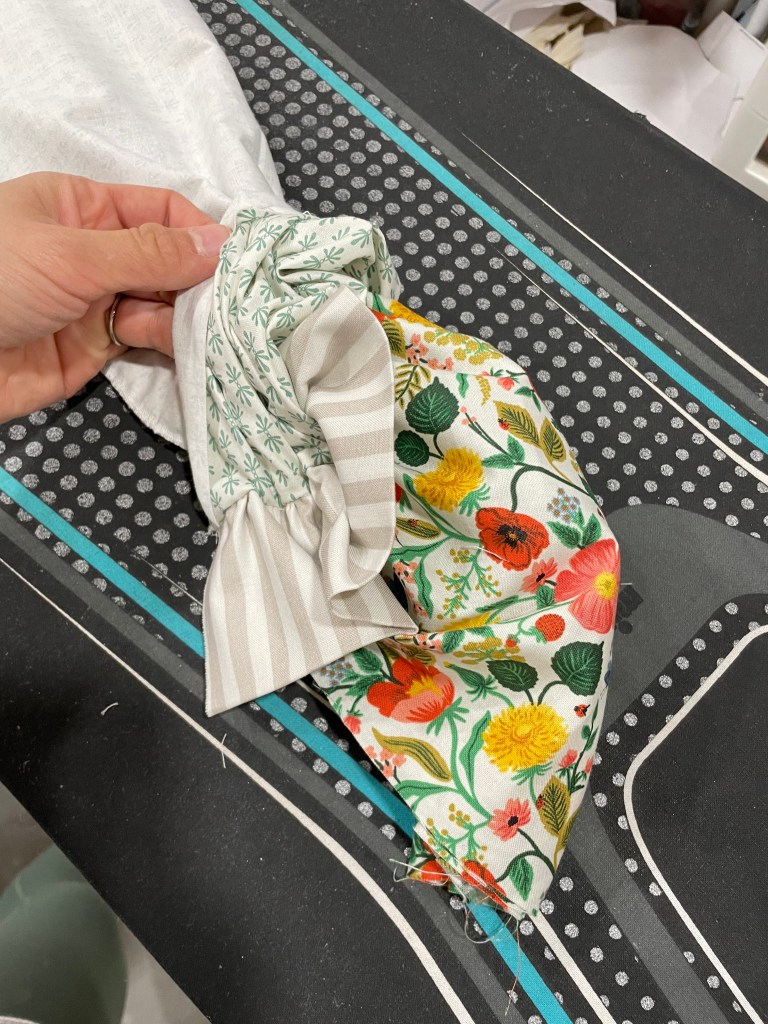
If you are looking for a fast, easy and satisfying project that will add a statement to your room, consider sewing up your own pillowcases. Seriously, they are so simple you will soon find yourself with WAY TOO MANY to choose from. We love sewing our own to elevate our bedding. It’s such a simple refresh that can make a big difference in a room without breaking the bank and you can use the scraps to make coordinating accent pieces. We used some scraps to make a few coordinating slouchy fabric baskets!

Here are 3 different pillowcase styles that you can try in your home. Let us know which is your favorite in the comments!
Lets get sewing!
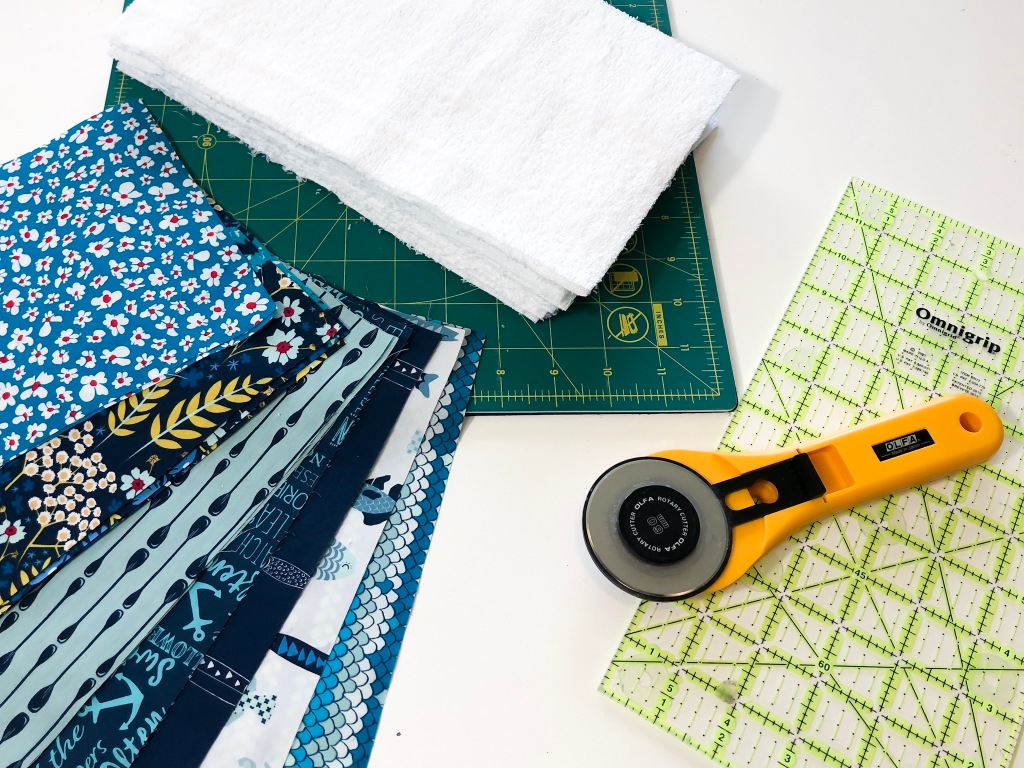
Go ahead and wash your fabric beforehand since it will shrink a considerable amount if its 100% cotton. Once your fabric is washed and dried you are ready to get to work!
1. Traditional Narrow Flange

You will start with 3 fabric choices
-Main Body
-Flange
-Cuff
Fabric Requirements based on pillow size:

Directions:
- Cut your fabric pieces to size (reference chart above)
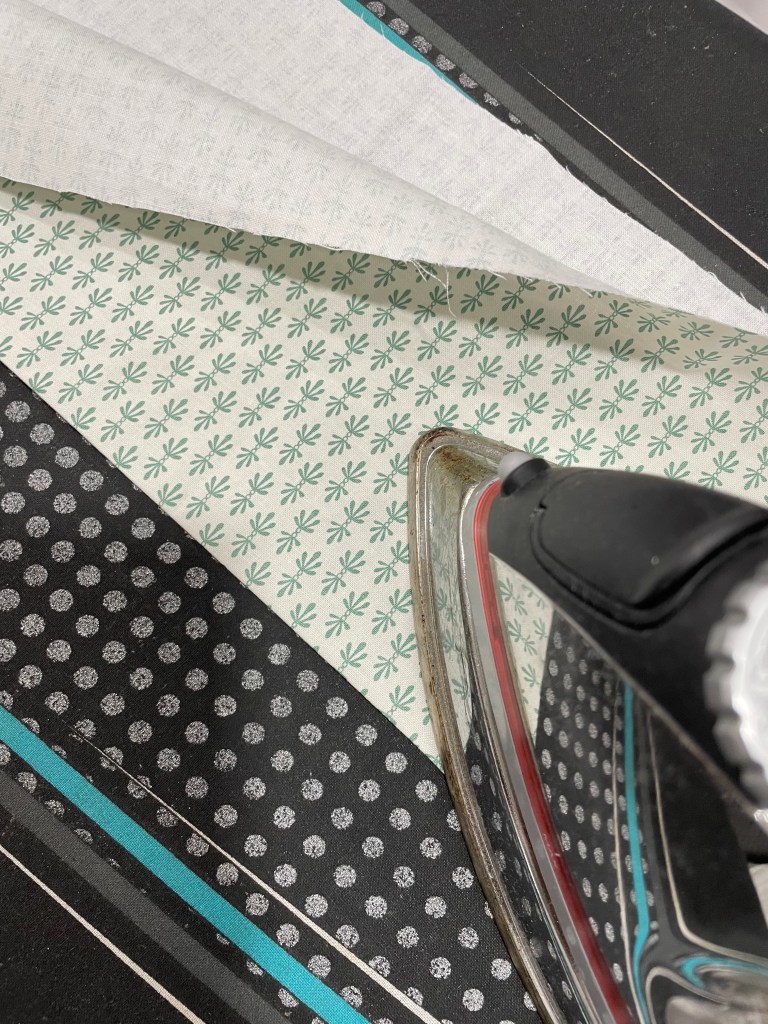
- Take your cuff piece and your flange piece and fold both in half width wise (wrong sides together). This will give you a 42 inch piece for both, then iron flat.
- Next, lay out your cuff piece unfolded right side up
- Then, lay your flange piece on top of your cuff piece with raw edges even.

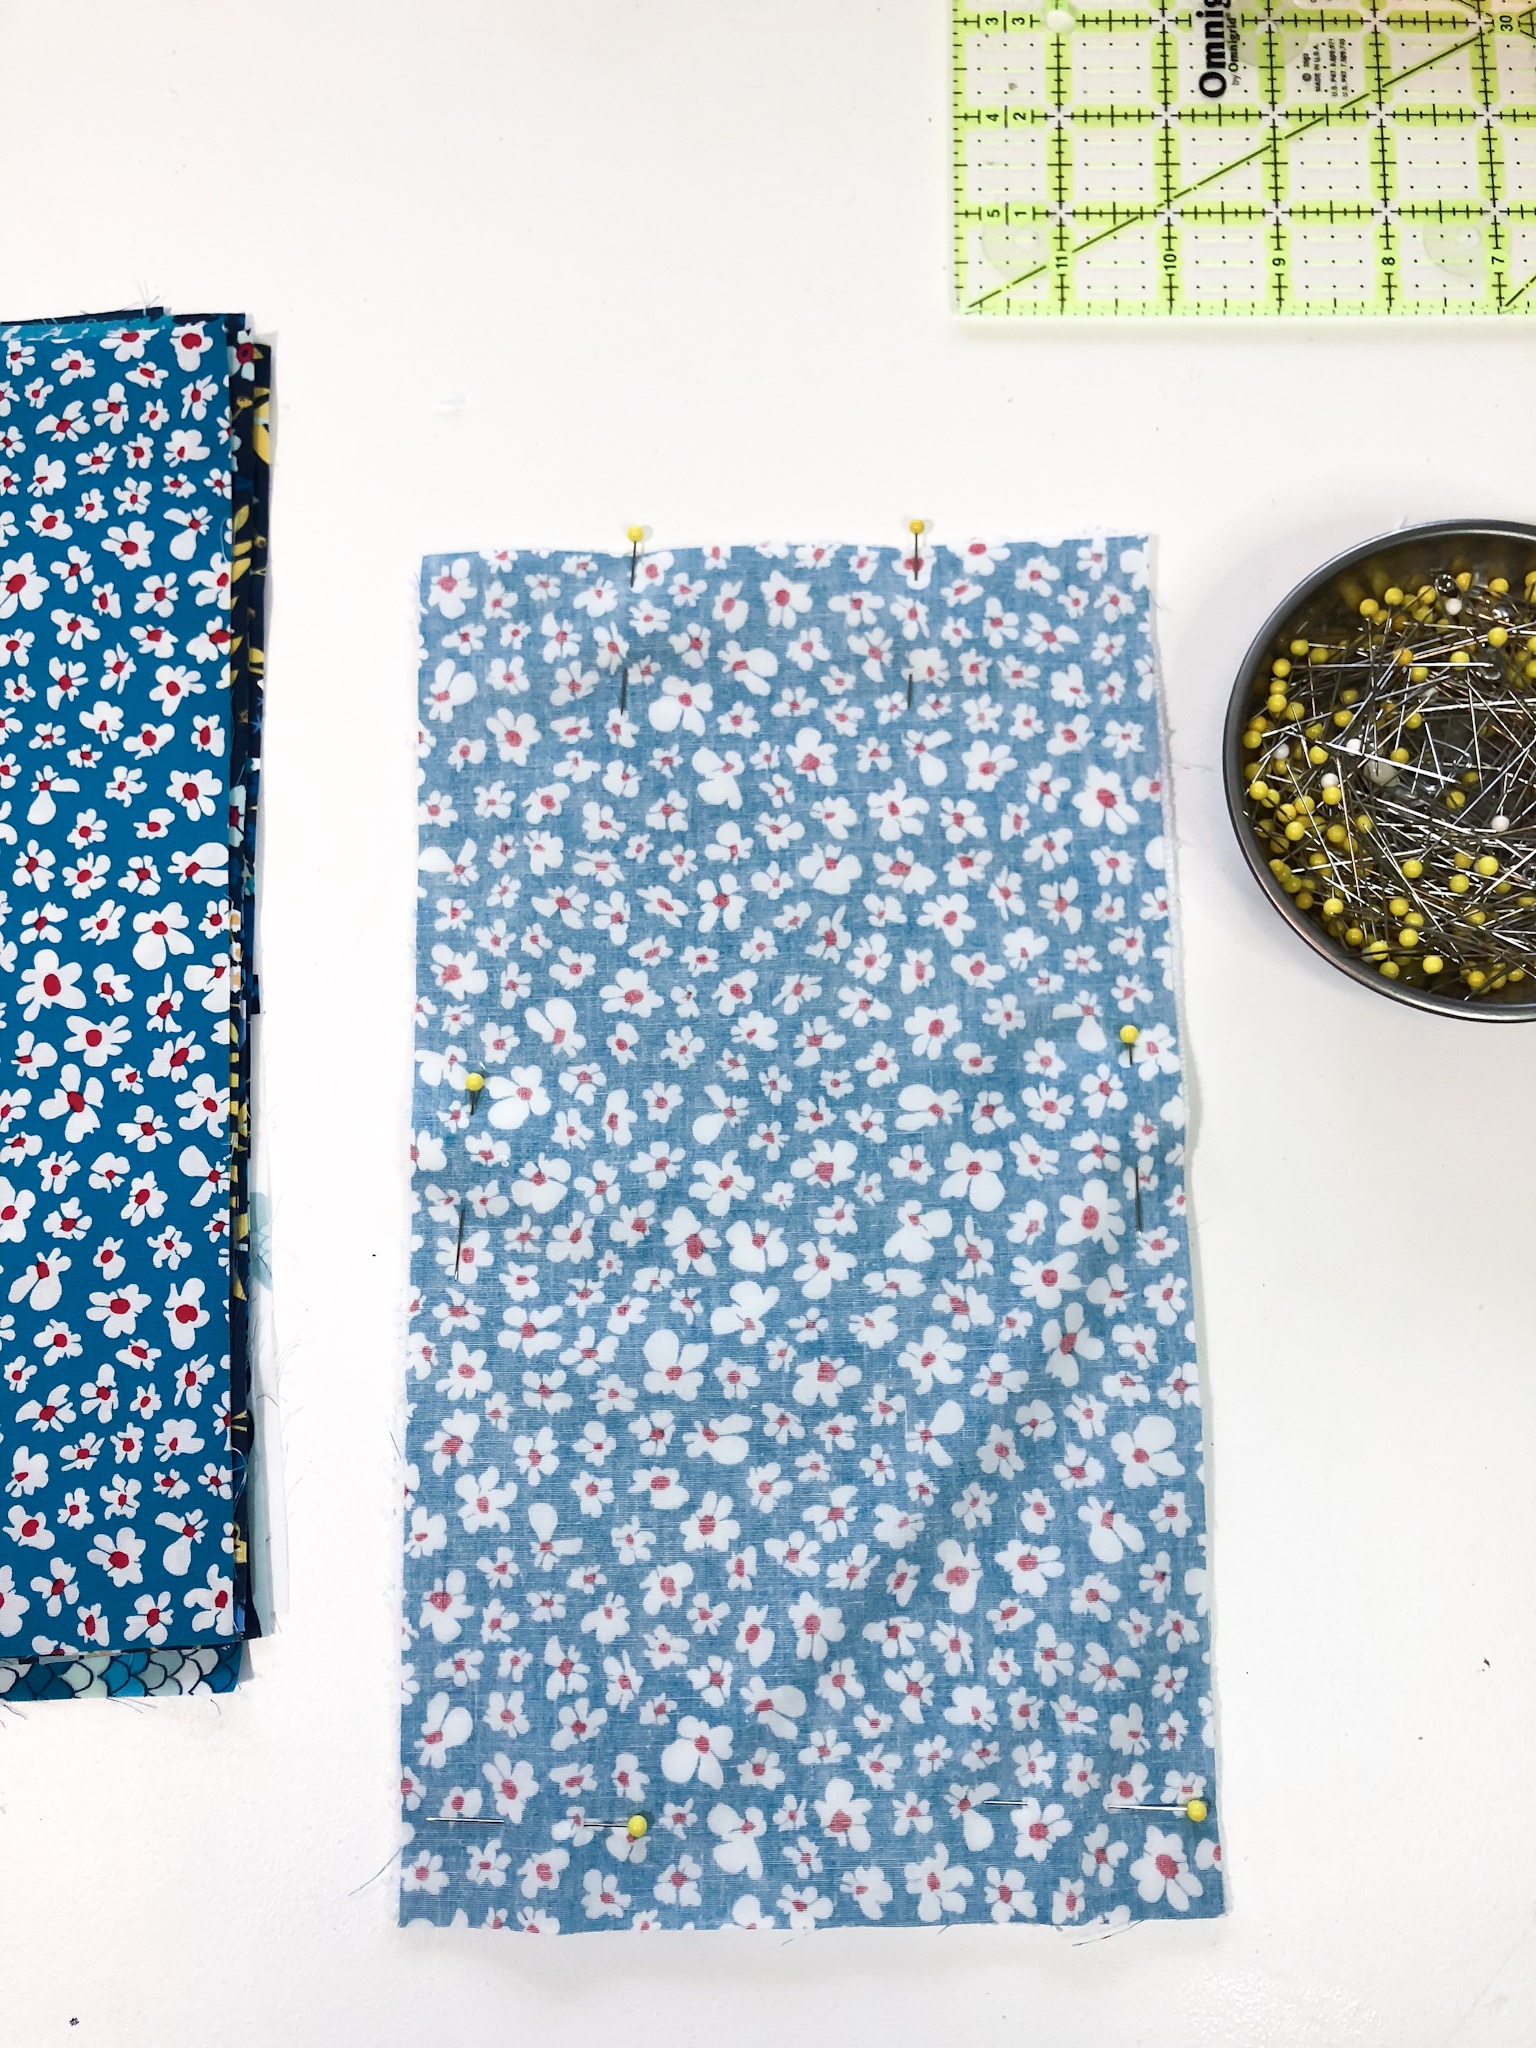
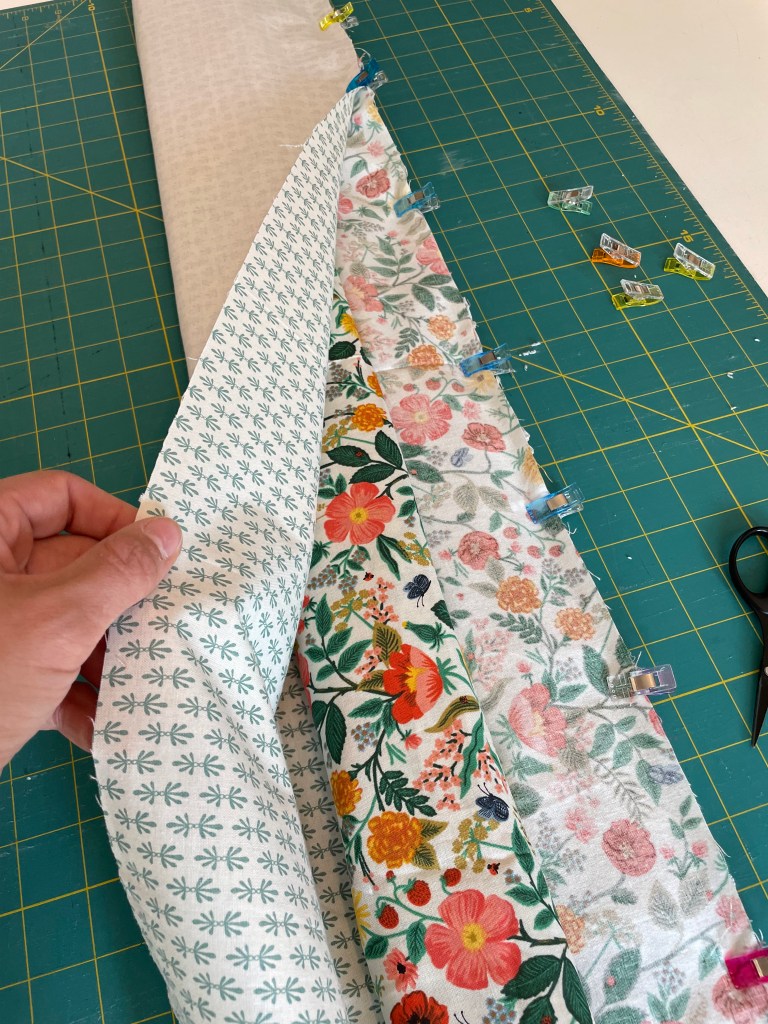
- Next, place the main body piece on top of your cuff and flange pieces with the right side of fabric facing the flange and cuff. (Make sure the cuff is on the bottom, flange is in the middle and the main body piece on top) I like to pin these together during this step to make sure the 3 layers don’t move.
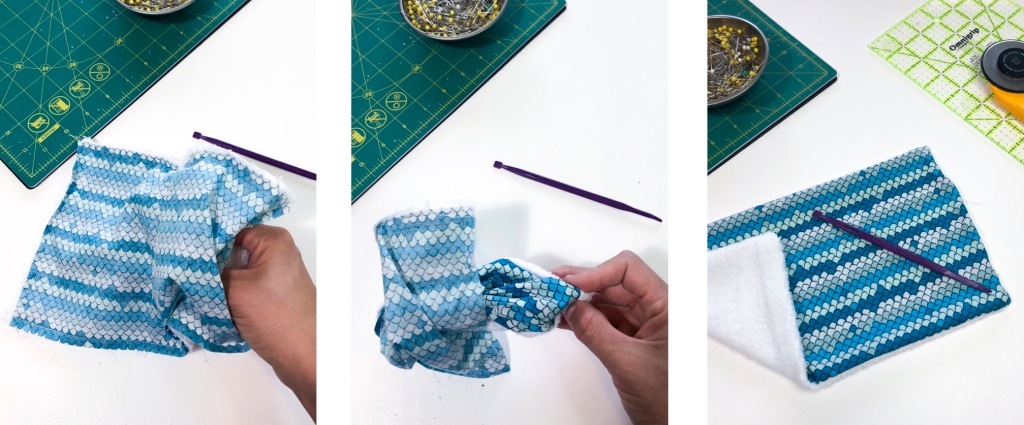
- Next, take the bottom of your main body piece and begin to roll it up toward the top (where your 3 fabrics meet and are pined together). Stop rolling about 2 inches from the top you will now see the cuff piece underneath

- Now take the cuff and fold it up over your rolled up body piece and join the bottom edge of it with the top where the 3 layers are already pinned. You now have a fabric burrito


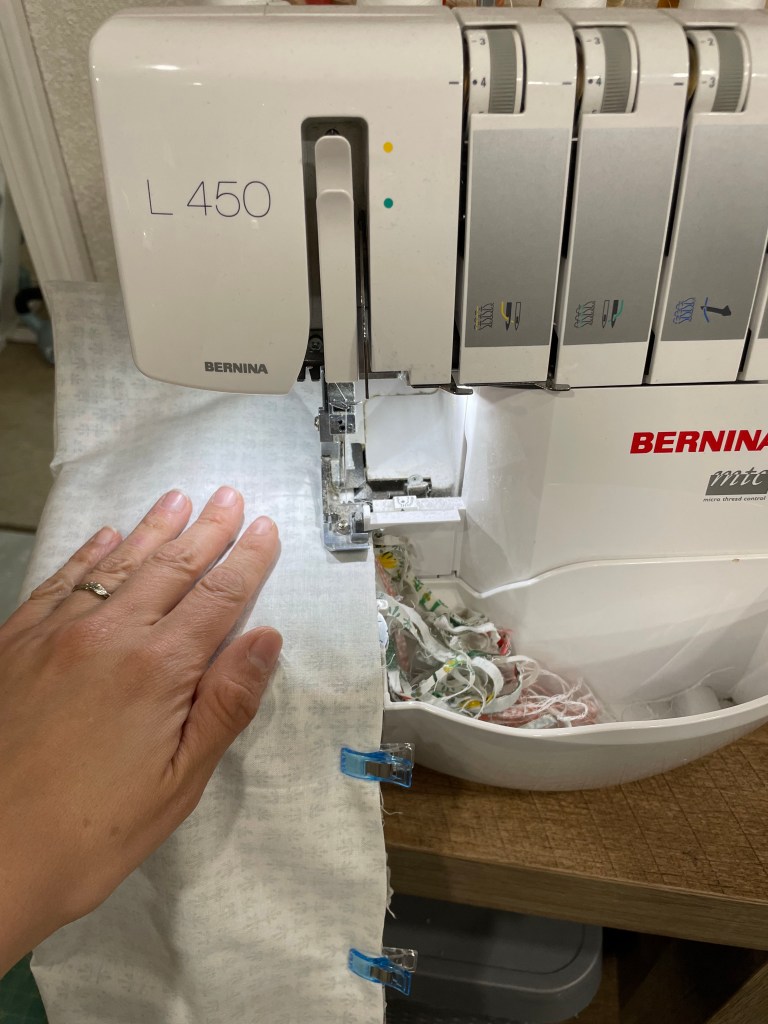
- Next, sew or serge the edge that is all pinned together

- Then, pull out your fabric from inside your burrito and turn it. You will now have a large rectangular piece with a hidden seam where the cuff and the body join together.
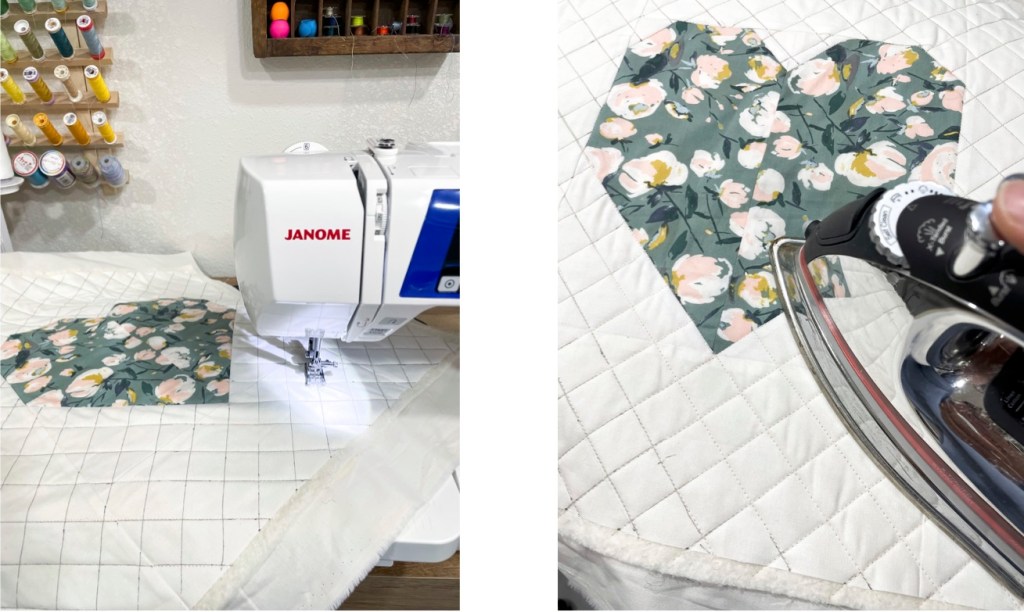
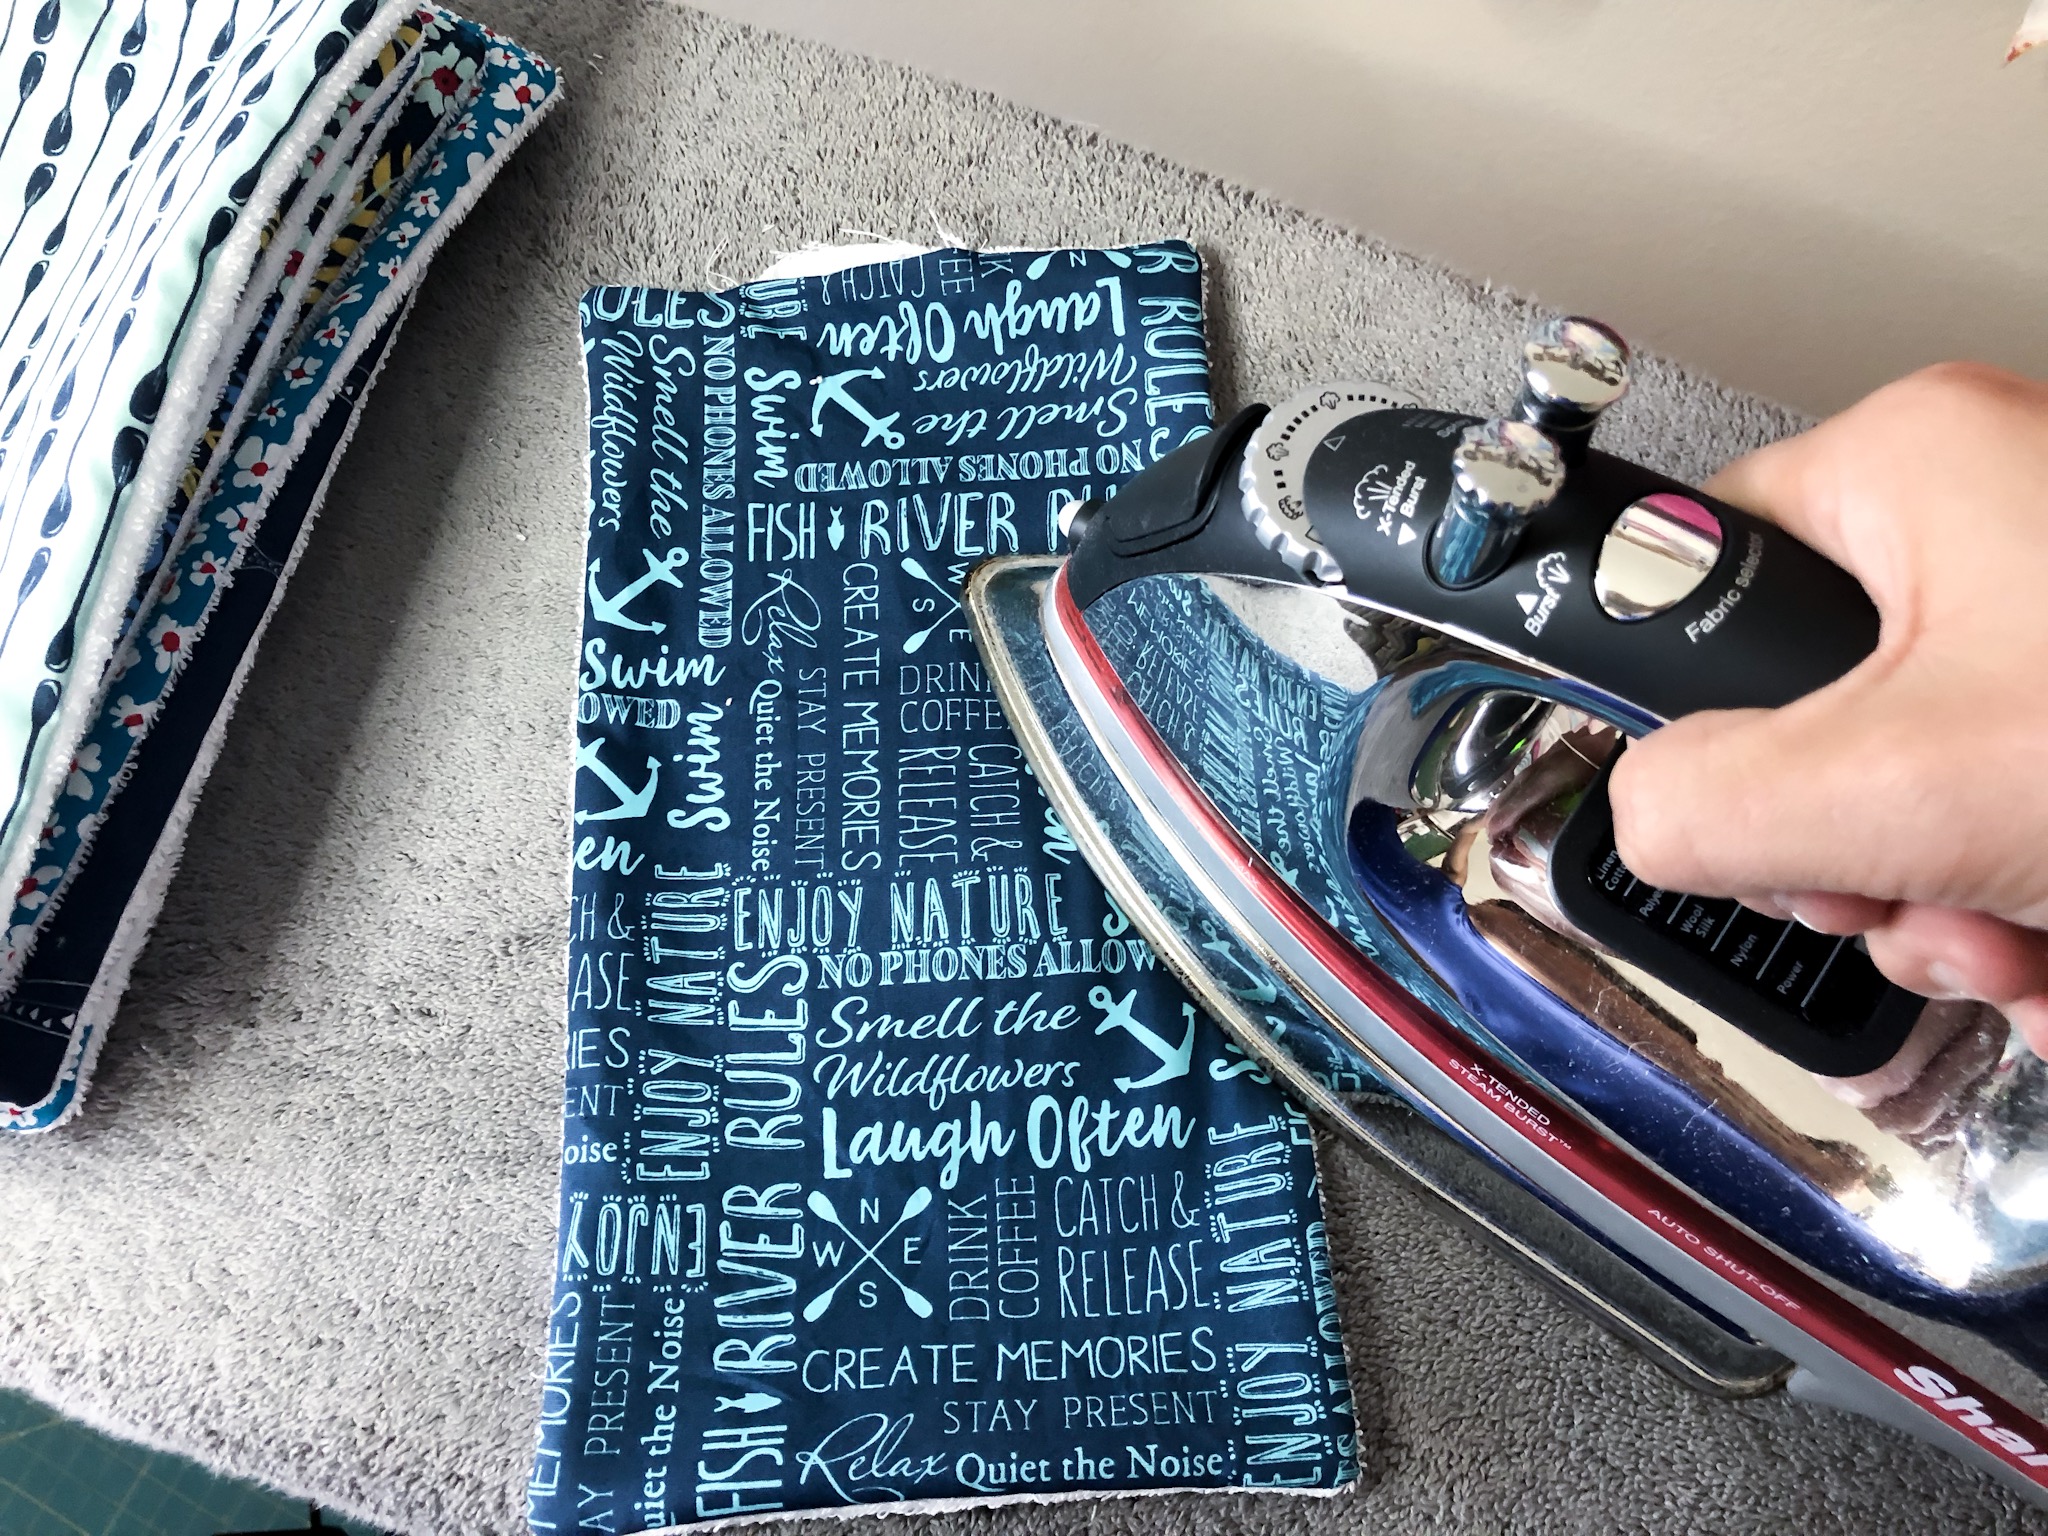
- You will now iron your cuff and flange flat

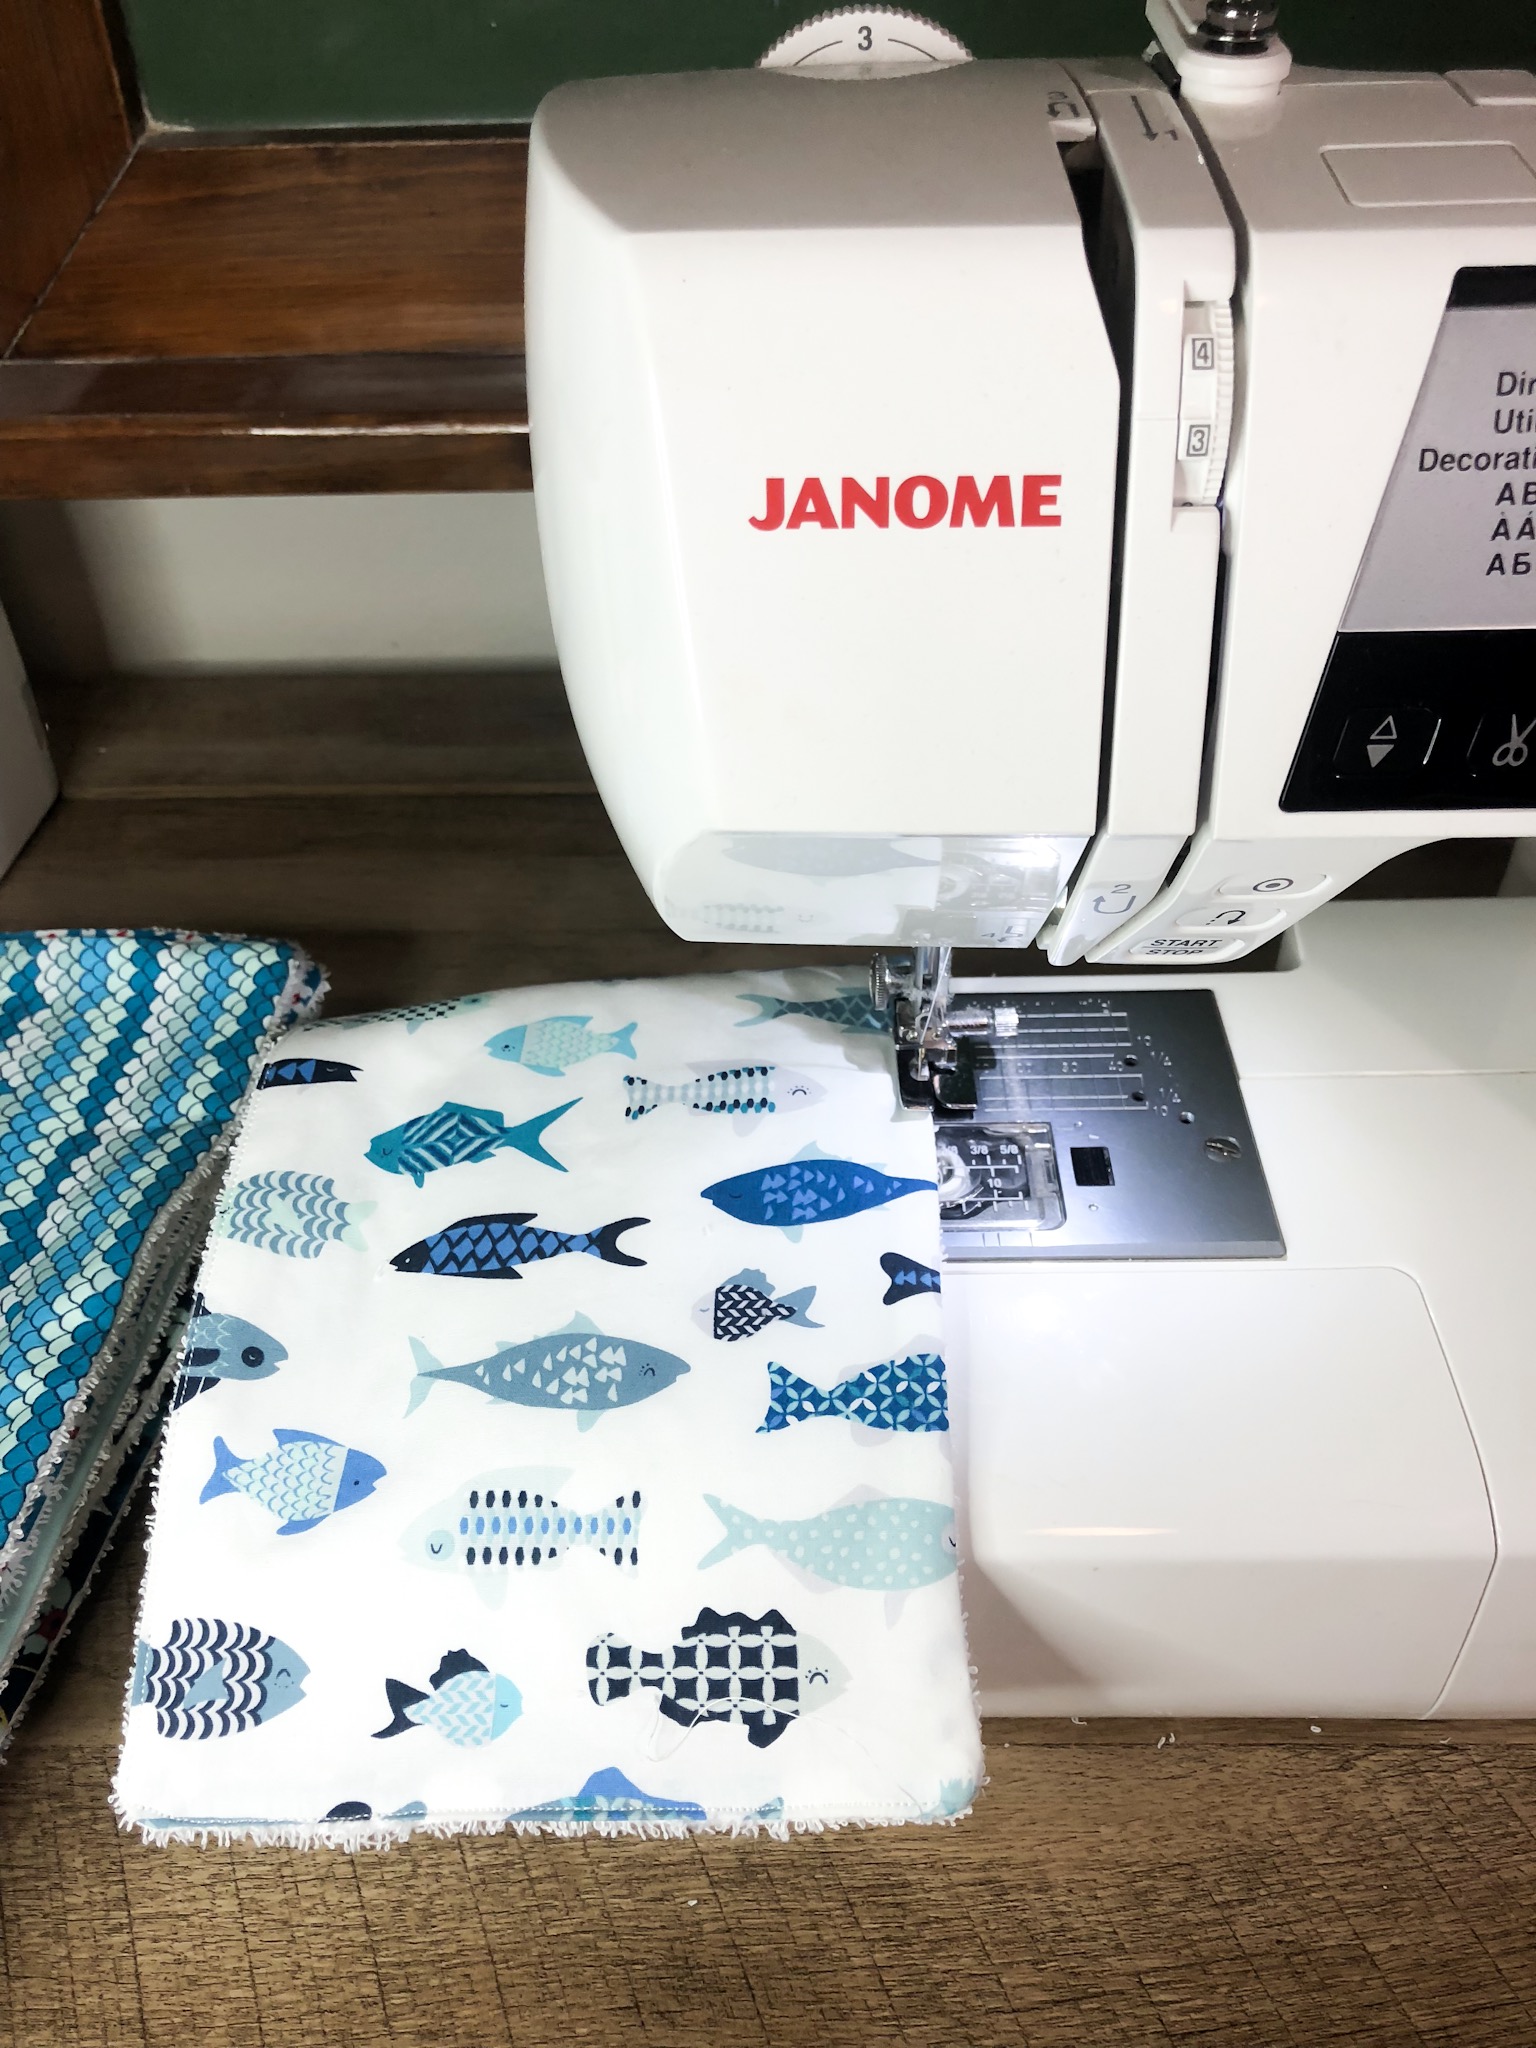
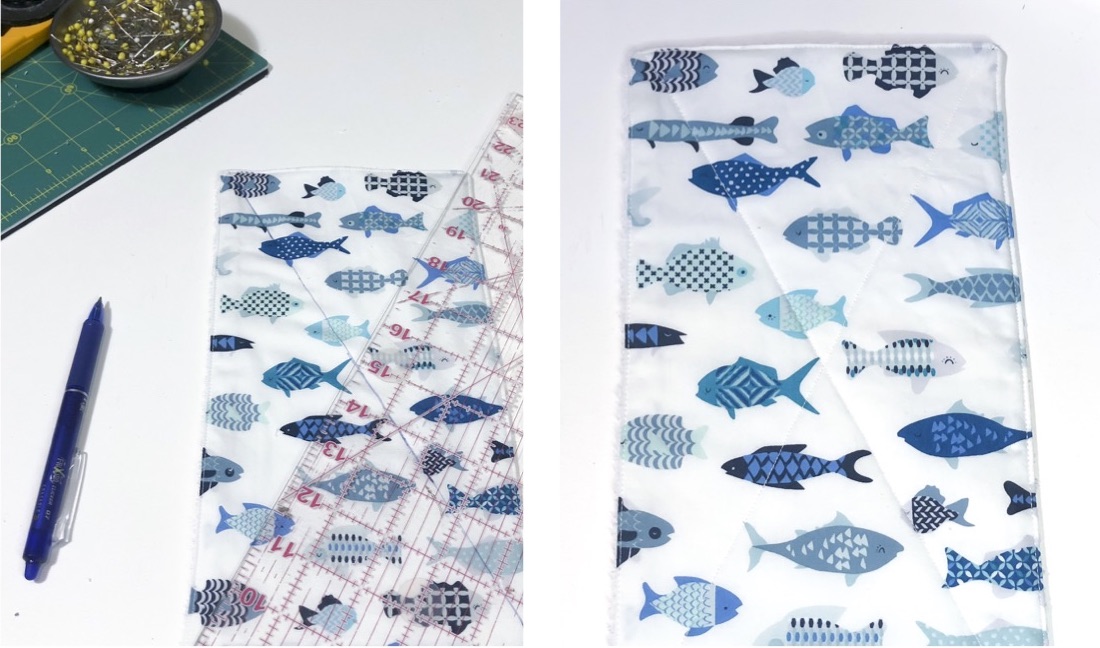
- Next you will fold your pillowcase in half (right sides together) and sew or serge down the side and along the bottom

- Tie off your thread tails and trim
- Now turn your pillowcase right side out and give the seams a good press
- Yay!!! You did it! Enjoy your new pillowcase!
2. Feminine Ruffles

You will start with 3 fabric choices
-Main Body
-Ruffle
-Cuff
Fabric Requirements based on pillow size:

Directions:
- Cut your fabric pieces to size (reference chart above)
- Since your ruffle piece is 63 inches long you will need to sew it in two pieces. Go ahead and sew those 2 pieces together and press the seam open.
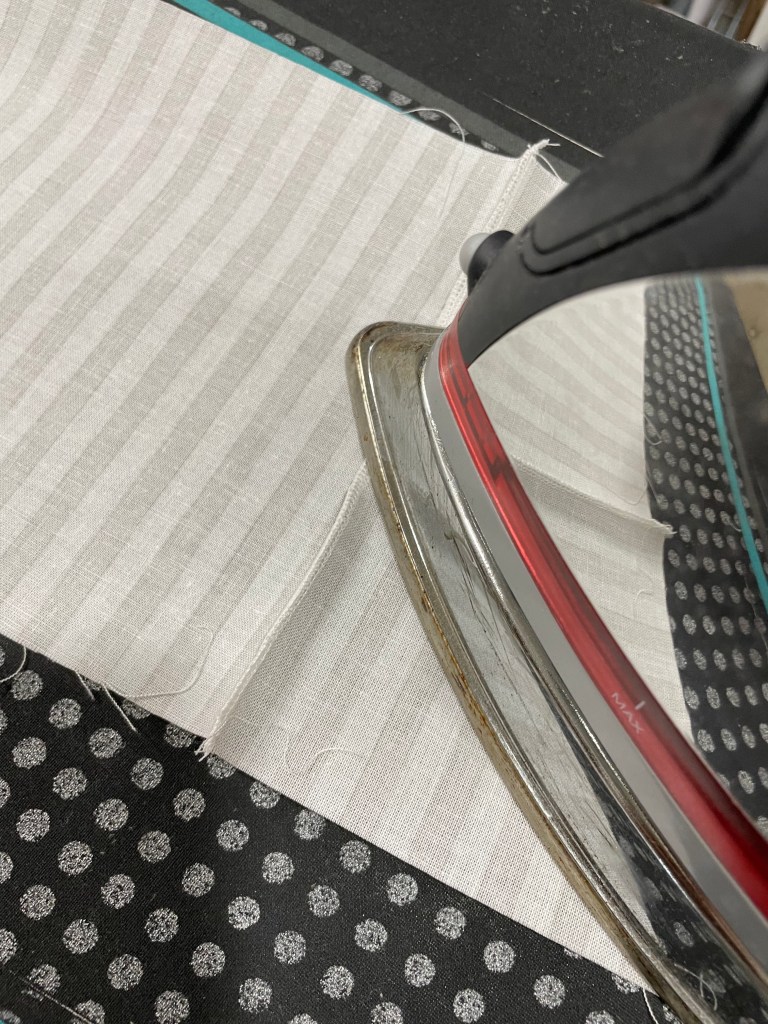
- Next, fold your ruffle piece in half width wise wrong sides together and iron it

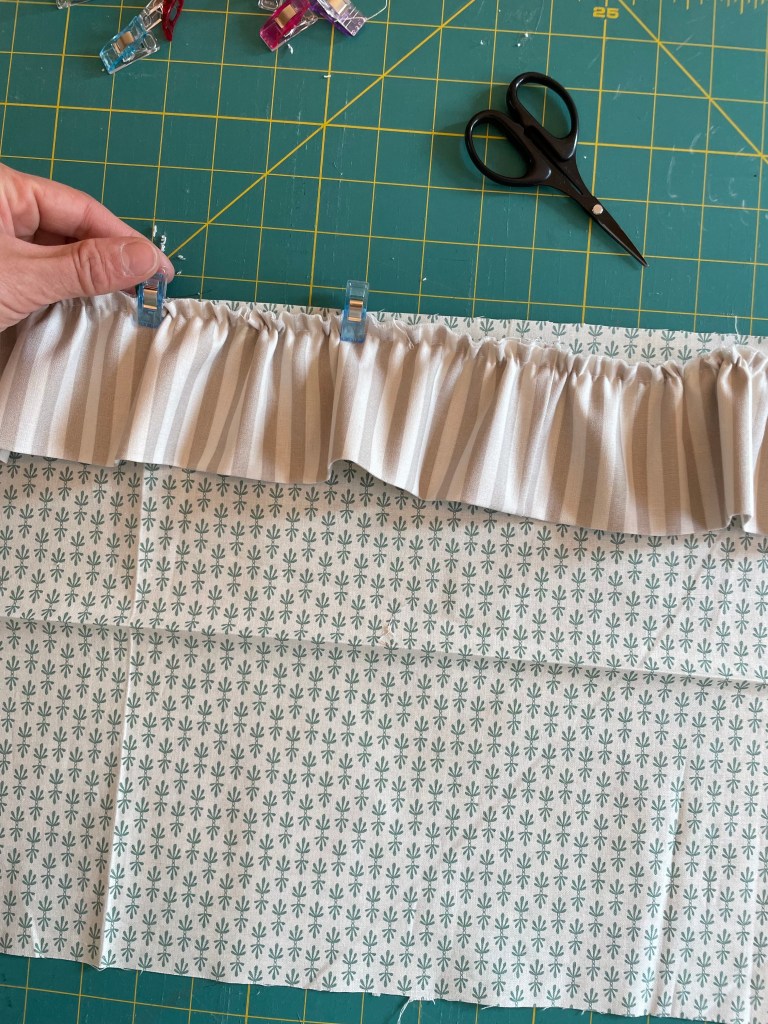
- Then, take your ruffle and sew along the top a basting stitch (make sure to leave the tails at the beginning and end long)
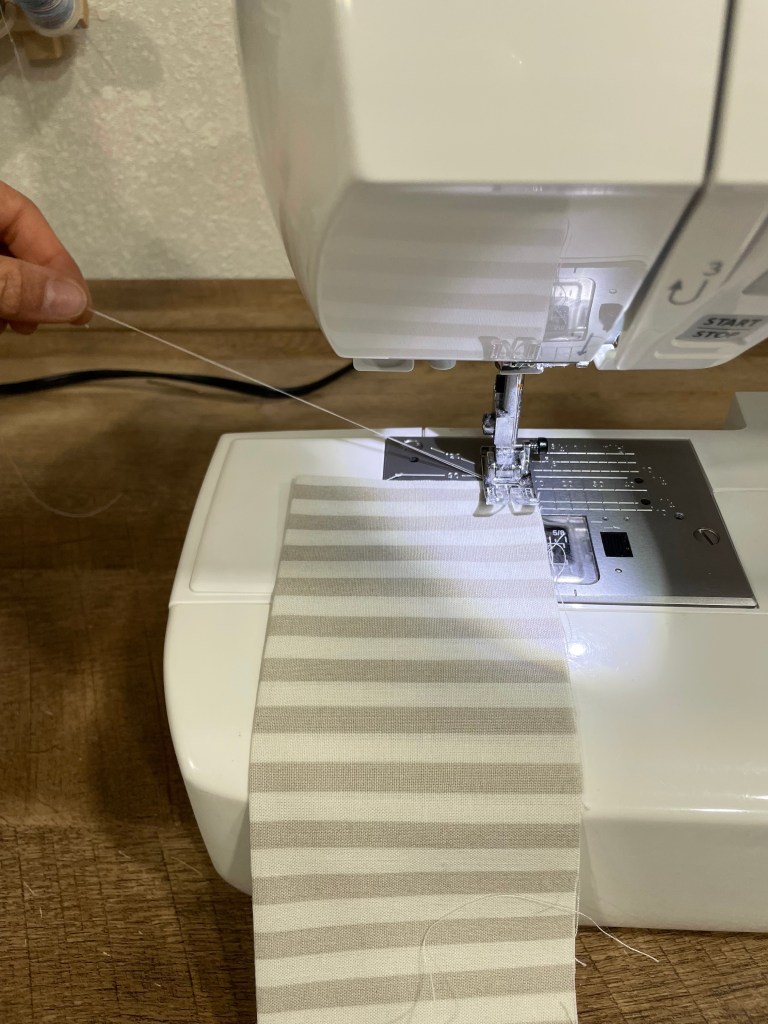
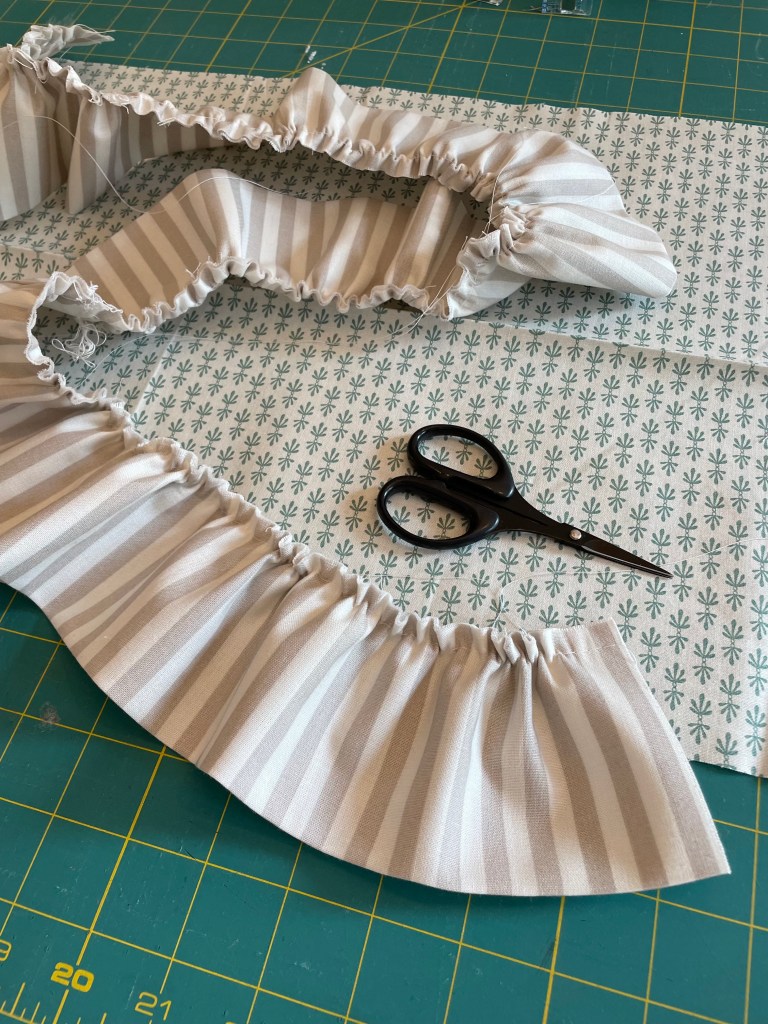
- Take one side of your tails and separate the two piece. Hold them both in your hand but only pull one. This will begin to gather or ruffle your fabric. Push the fabric down and adjust it evenly as you pull. Continue to do this until you get a piece that is 42 inches long.

- Take your cuff piece and fold it in half width wise (wrong sides together) This will give you a 42 inch piece and iron flat.
- Next, lay out your cuff piece unfolded right side up
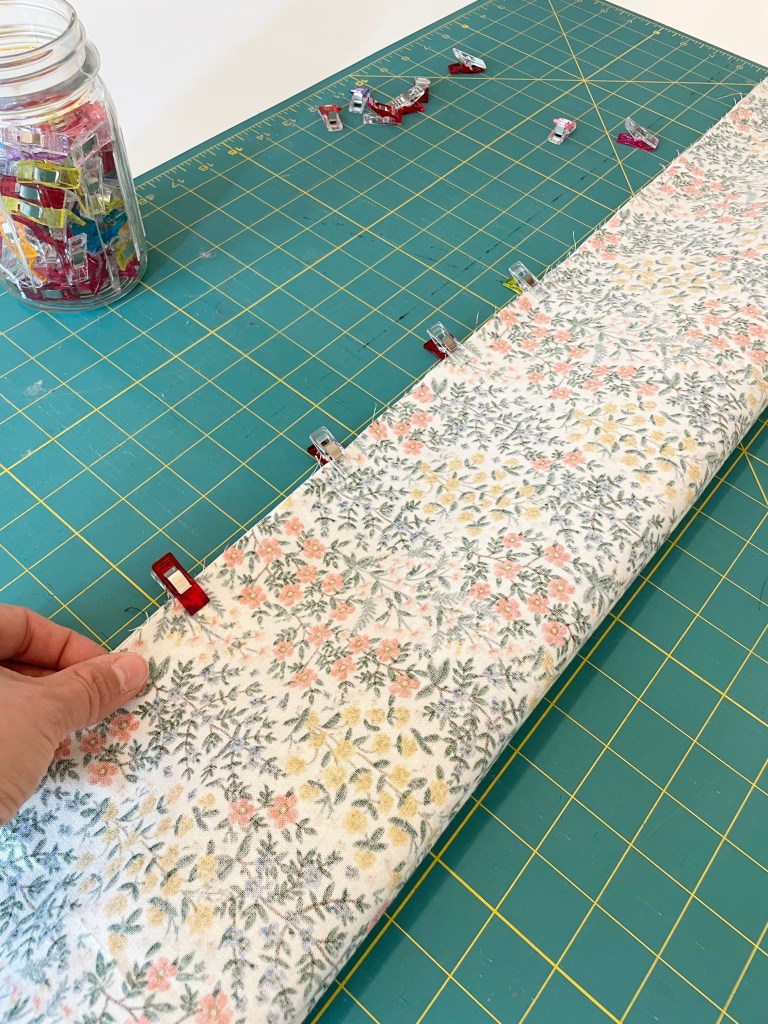
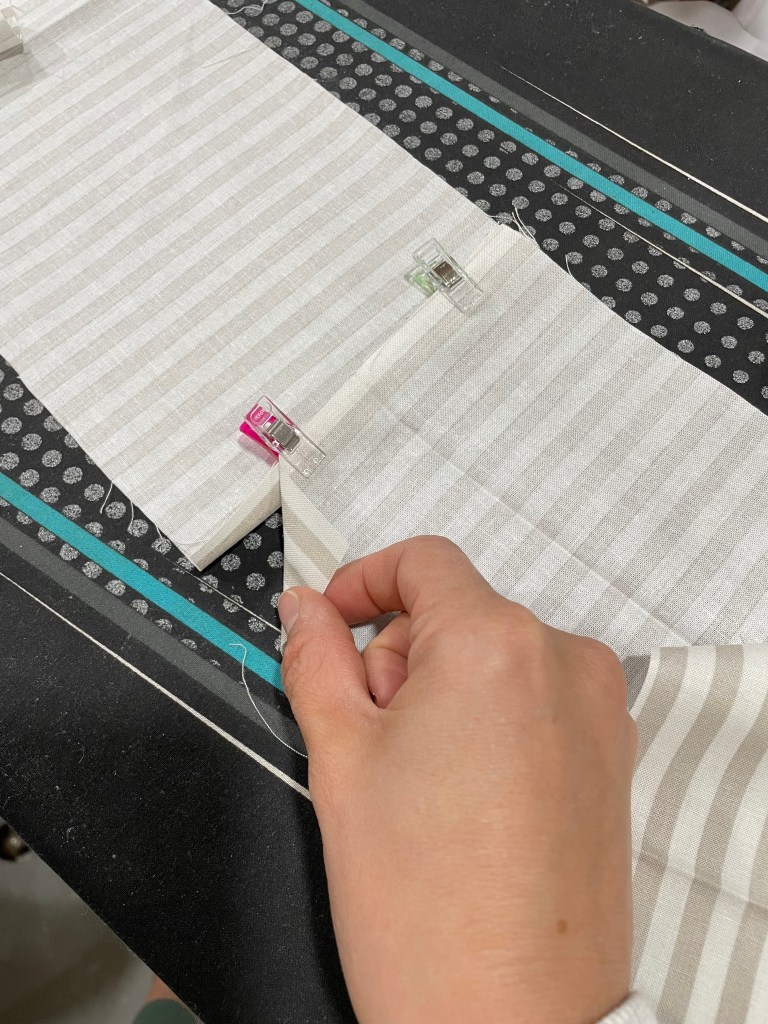
- Then, lay your ruffle on top of your cuff piece and line the raw edges up, clipping or pinning them together.
- Next, take the main body piece and place along the top of your cuff and ruffle. I like to pin these together during this step to make sure the 3 layers do not move. (Make sure the cuff is on the bottom, ruffle in the middle and main body on the top)

- Next, take the bottom of your main body piece and begin to roll it up towards the top (where your 3 fabrics meet and are pined together) stop rolling about 2 inches from the top and you will now see the cuff piece underneath
- Now take the cuff and fold it up over your rolled up body piece and join the bottom edge of it with the top where the 3 layers are already pinned. You now have a fabric burrito
- Next, sew or serge the edge that is all pinned together
- Next, pull out your fabric from inside your burrito and turn it. You will now have a large rectangular piece with a hidden seam where the cuff and the body join together.
- You will now iron your cuff and ruffle
- Then, top stitch the edge where your cuff and ruffle meet

- Next you will fold your pillowcase in half (right sides together) and sew or serge down the side and along the bottom

- Tie off your thread tails and trim
- Now turn your pillowcase right side out and give the seams a good press

- Yay!!! You did it! Enjoy your new pillowcase!
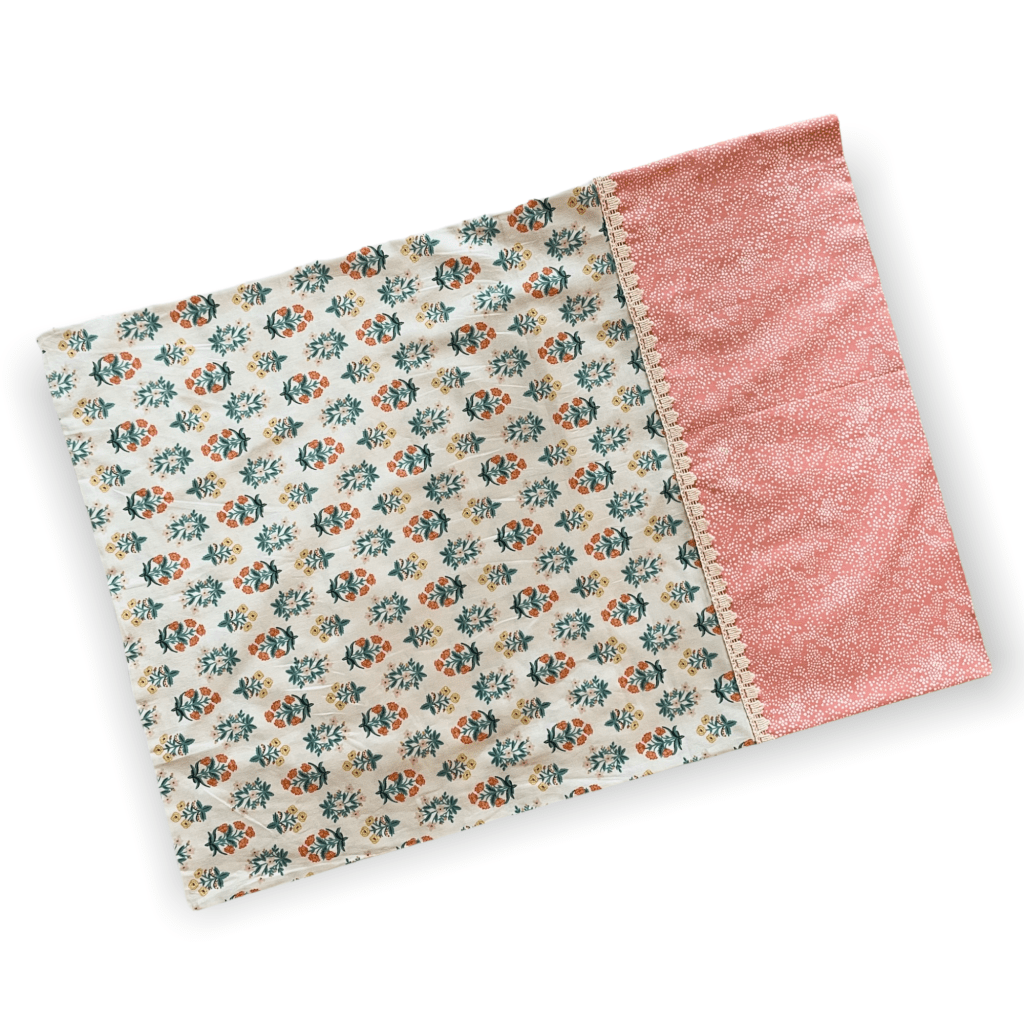
3. Modern Exaggerated Cuff
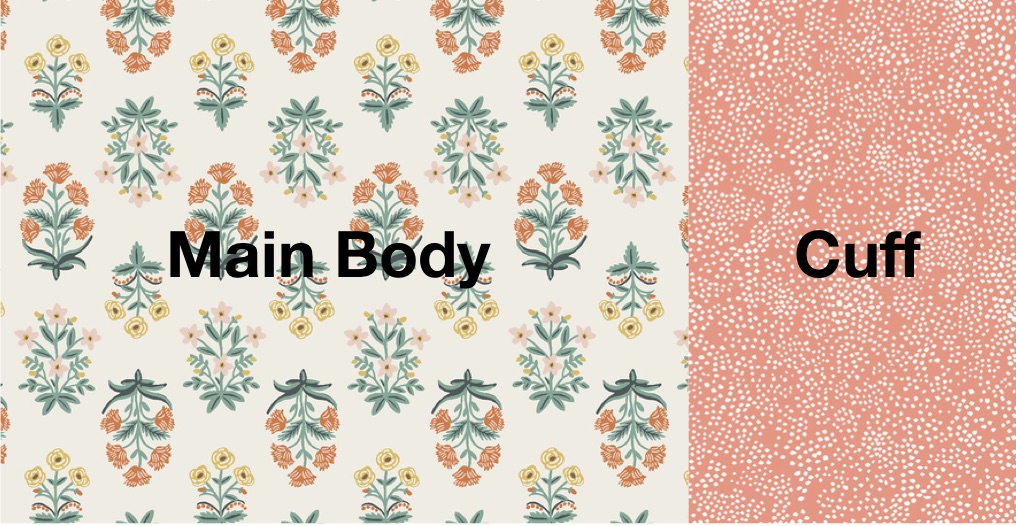
You will start with 2 fabric choices
-Main Body
-Cuff
-(Optional) Accent Trim
Fabric Requirements based on pillow size:

Directions:
- Cut your fabric pieces to size (reference chart above)
- Take your cuff piece and fold it in half width wise (wrong sides together) This will give you a 42 inch piece and iron flat.
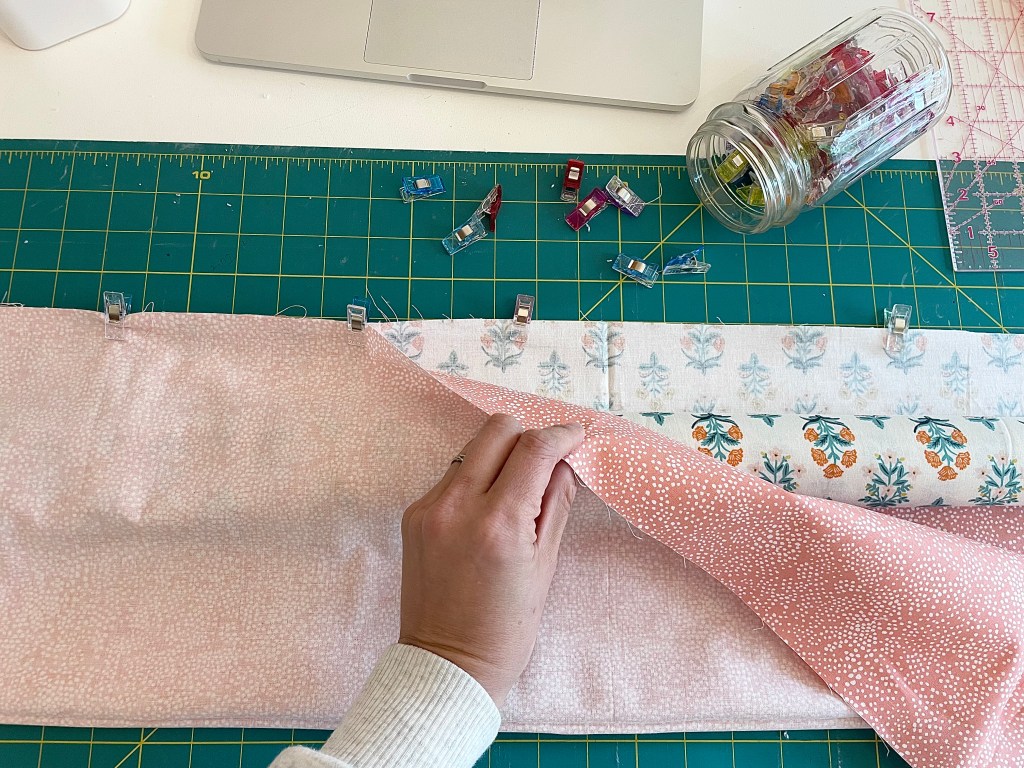
- Next, lay out your cuff piece unfolded right side up
- Then, take the main body piece and line it up along the top of your cuff, matching the raw edges. I like to pin these together during this step to make sure the 2 layers do not move.

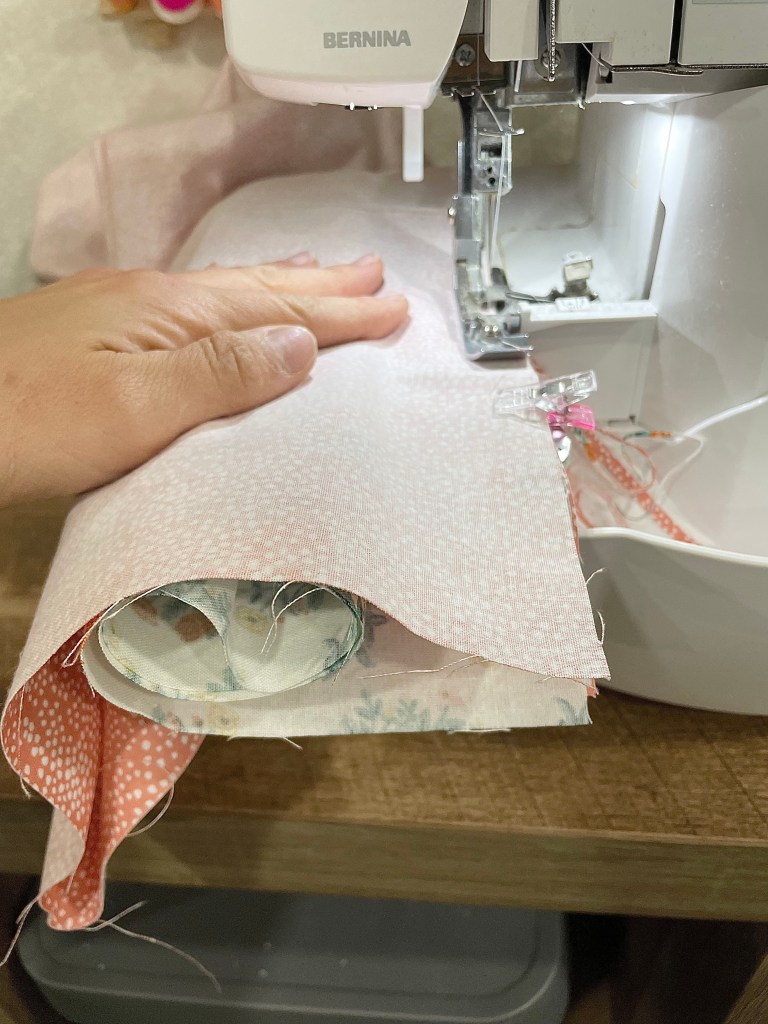
- Next, take the bottom of your main body piece and begin to roll it up towards the top (where your 2 fabrics meet and are pined together) stop rolling about 2 inches from the top and you will now see the cuff piece underneath
- Now take the cuff and fold it up over your rolled up body piece and join the bottom edge of it with the top where the 2 layers are already pinned. You now have a fabric burrito
- Next, sew or serge the edge that is all pinned together
- Next, pull out your fabric from inside your burrito and turn it. You will now have a large rectangular piece with a hidden seam where the cuff and the body join together.
- You will now iron your cuff flat
- (OPTIONAL) If you would like to add an accent trim take your trim and lay it over the seam there the cuff and main body fabric meet and top stitch it on.
- Next you will fold your pillowcase in half (right sides together) and sew or serge down the side and along the bottom

- Tie off your thread tails and trim
- Now turn your pillowcase right side out and give the seams a good press
- Yay!!! You did it! Enjoy your new pillowcase!
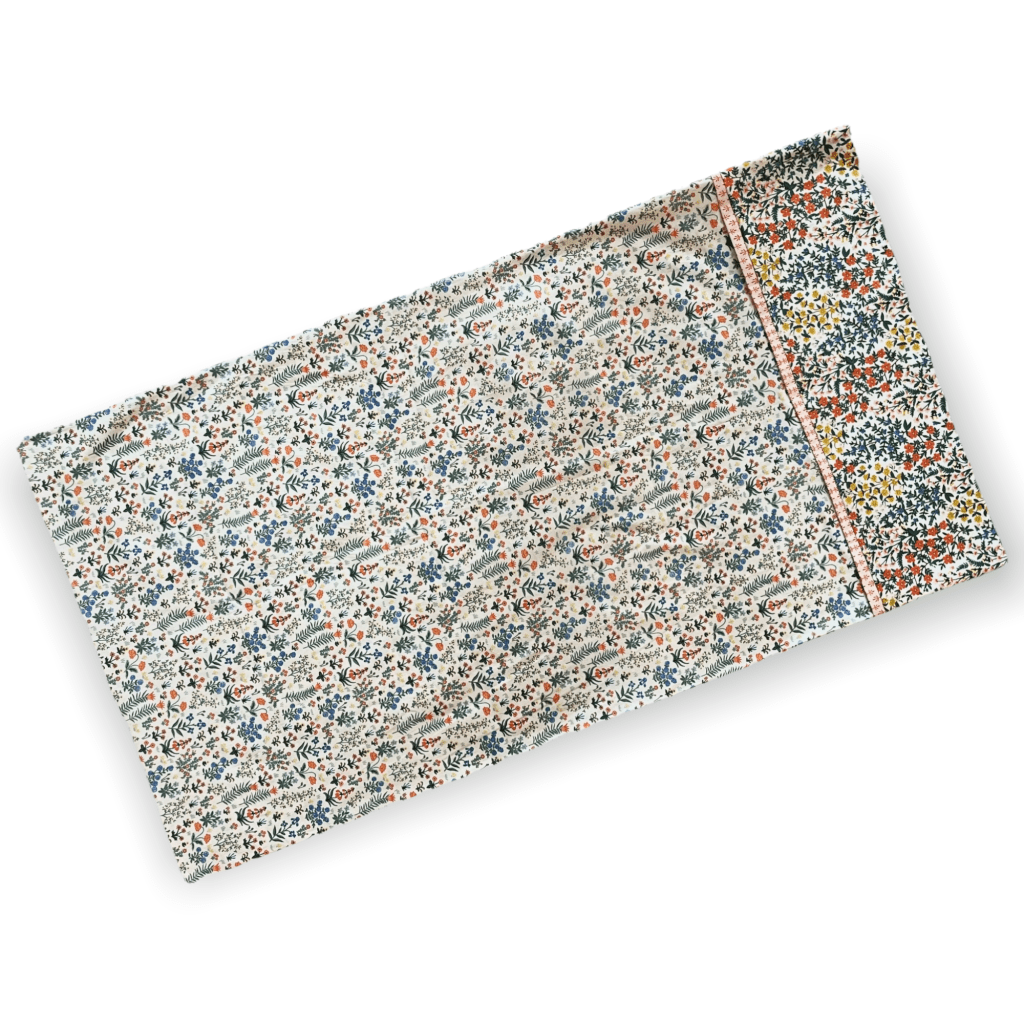
Just like that, you now have 3 new pillowcases!
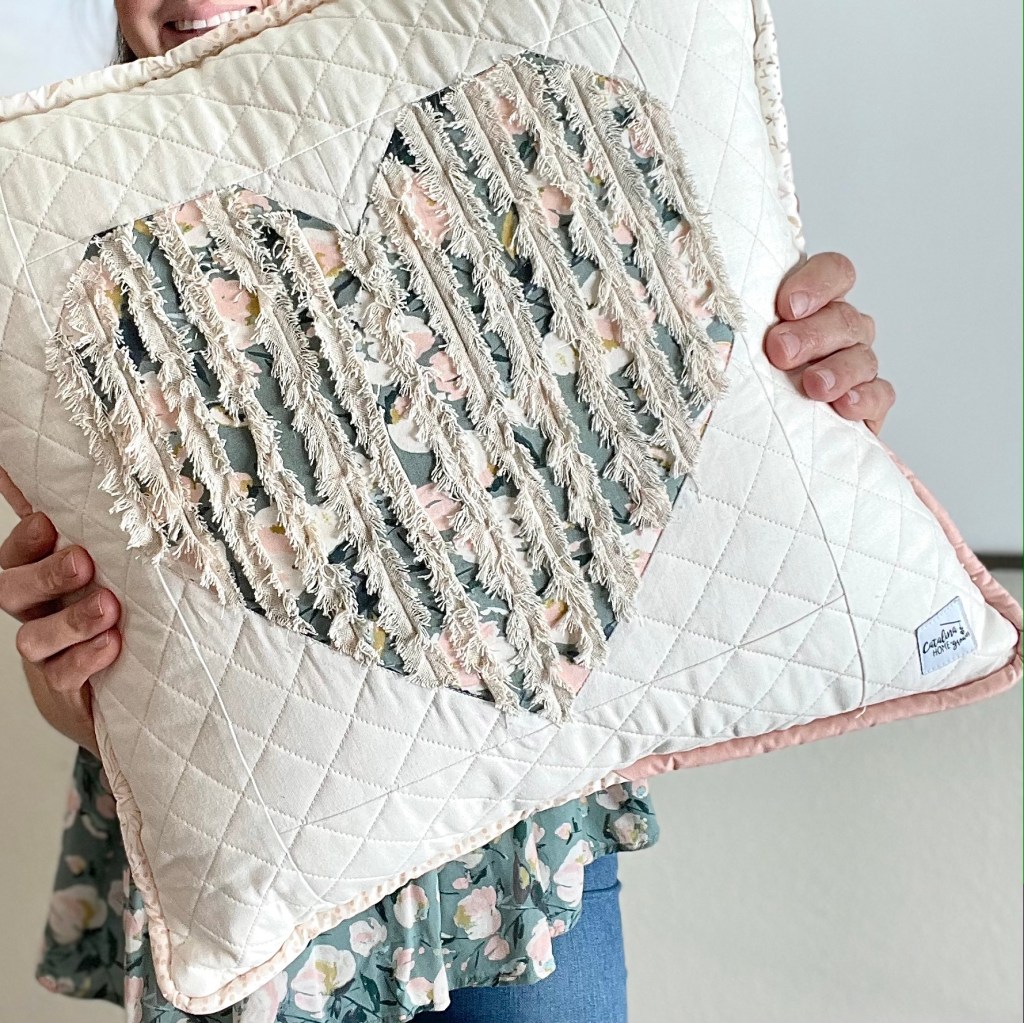
The fabric I choose for my pillowcases is from the new Rifle Paper Co. collection Camont that I found from Hawthorne Supply Co. The quality is fantastic and I know its going to hold up with daily wear and regular wash and those florals, well you can’t go wrong with RPC Florals!!!!
Happy sewing friends!
-Amanda